Making your podcast sound great starts with a well-set-up working microphone. With Adobe podcast, checking your microphone is easier than ever. In this blog post, learn how to use the Adobe Podcast Mic Check feature to help your recording sound better. This is an important thing to do before you hit record.
Importance of Mic Check
This might be pretty obvious, but the success of a podcast depends not only on the content but also on the quality of the audio. Poor audio quality can drive away listeners, regardless of how compelling your content may be. With a mic check, you can identify and address any issue with your audio setup before you start recording. This will ensure that your recording sounds clean and professional, saving you time and effort.
What is Adobe Podcast?
Adobe Podcast is an AI-powered cloud-based audio production tool specifically designed for podcast creation. It offers various tools such as the Studio and Enhance Speech that can be used to record, edit, and enhance your podcast episodes. Overall, it is an amazing software that can help to make recording and editing podcasts seamless.
How Adobe Podcast Mic Check Works
Adobe’s Mic Check feature might be less popular among content creators, especially because it is still in beta. But it might be the most helpful tool inside Adobe Podcast in terms of recording audio.
This feature focuses specifically on evaluating the audio quality regarding how you use your microphone. It checks background noise, echo, gain, and distance to the microphone, which all contribute to a great recording. Moreover, it provides instructions on how to fix issues you may have on these.
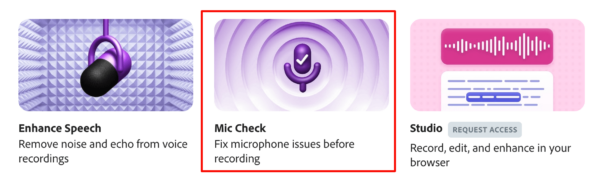
To use the Mic Check feature, go to the Adobe Podcast website, sign in, and select Mic Check from the Tools menu.
When you are ready to test, click Start.
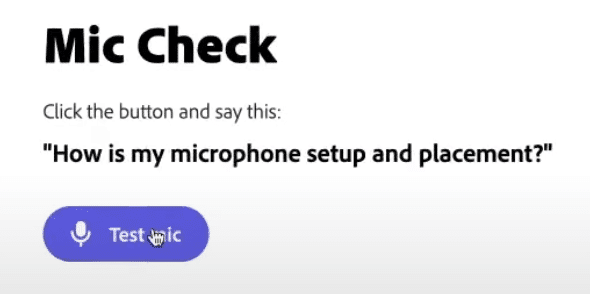
Then click the Test Mic button and start talking to the microphone.
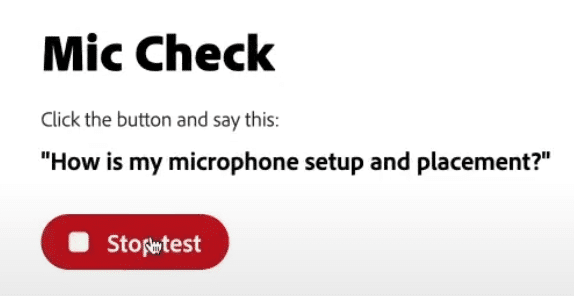
Just say a few words or sentences and once done, press Stop Test.
How To Analyze the Mic Check Results
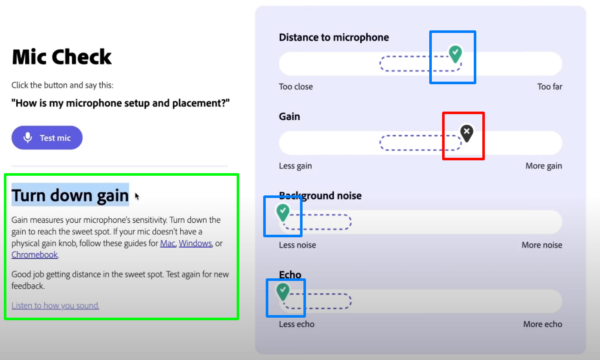
After you stop testing, Adobe Podcast will analyze your voice on 4 different insights and give you the result in less than a minute.
Your results might be different from the image below but use this as a guide to analyze the result you have. The ones with the check mark (blue box) mean that those factors are fine. On the other hand, the one with an ‘x’ mark (red box) means that you need to improve that attribute. Moreover, on the left side, Adobe gives you tips on how to fix the issues (green box).
Use the feedback you receive from Adobe Podcast’s Mic Check to make the necessary adjustments to your microphone gain, distance, echo, and background noise control. You can do more tests until you have green marks on all four factors. And don’t worry, doing countless mic checks is free.
If you prefer the video version of this blog post, watch it on YouTube.
Final Thoughts
Adobe Podcast has a great feature that enables users to check the quality of their audio. This tool can analyze your voice recording and give feedback. Your job is to make use of that feedback to make adjustments to your microphone and make your recording sound good. Remember, a great podcast starts with a comprehensive mic check.
Professional Podcast Editing
Bring your podcast to life with Music Radio Creative’s audio and video editing services. Our team specializes in creating engaging, high-quality podcasts that captivate both listeners and viewers. See how we can enhance every aspect of your podcast!
Further Reading
- Adobe Audition Podcast Tutorial – How to Record and Edit a Podcast From Start to Finish
- Is Adobe Podcast The Game Changer For Podcast Editing?
- How to Start Podcasting – Step-by-Step Tutorial
- Podcast Editing – How to Fix Volume Levels in Audacity
- Adobe Audition For Beginners – Make ANY Podcast Sound Awesome