Are you planning to make your first Podcast using Adobe Audition? This podcast tutorial is perfect for you!
Adobe Audition is indeed one of the best tools for recording, editing, and enhancing podcasts and so, it is used by many content creators. In this blog post, we’ll walk you through how to record and edit a podcast from start to finish in Adobe Audition.
Step 1: Prepare The Session File
When you load up Adobe Audition, the first thing you should do is to create tracks for all of your clips — music, sound effects, and voice recording. And with that, you should have separate tracks for each audio. For example, track 1 would be for the voice recording of the host, track 2 would be for your guest, and track 3 is for the music.

If there are any more unused tracks, you can just delete those to keep things nice and simple. To delete a track, select the track, double click and then choose Delete Selected Track from the Track menu.

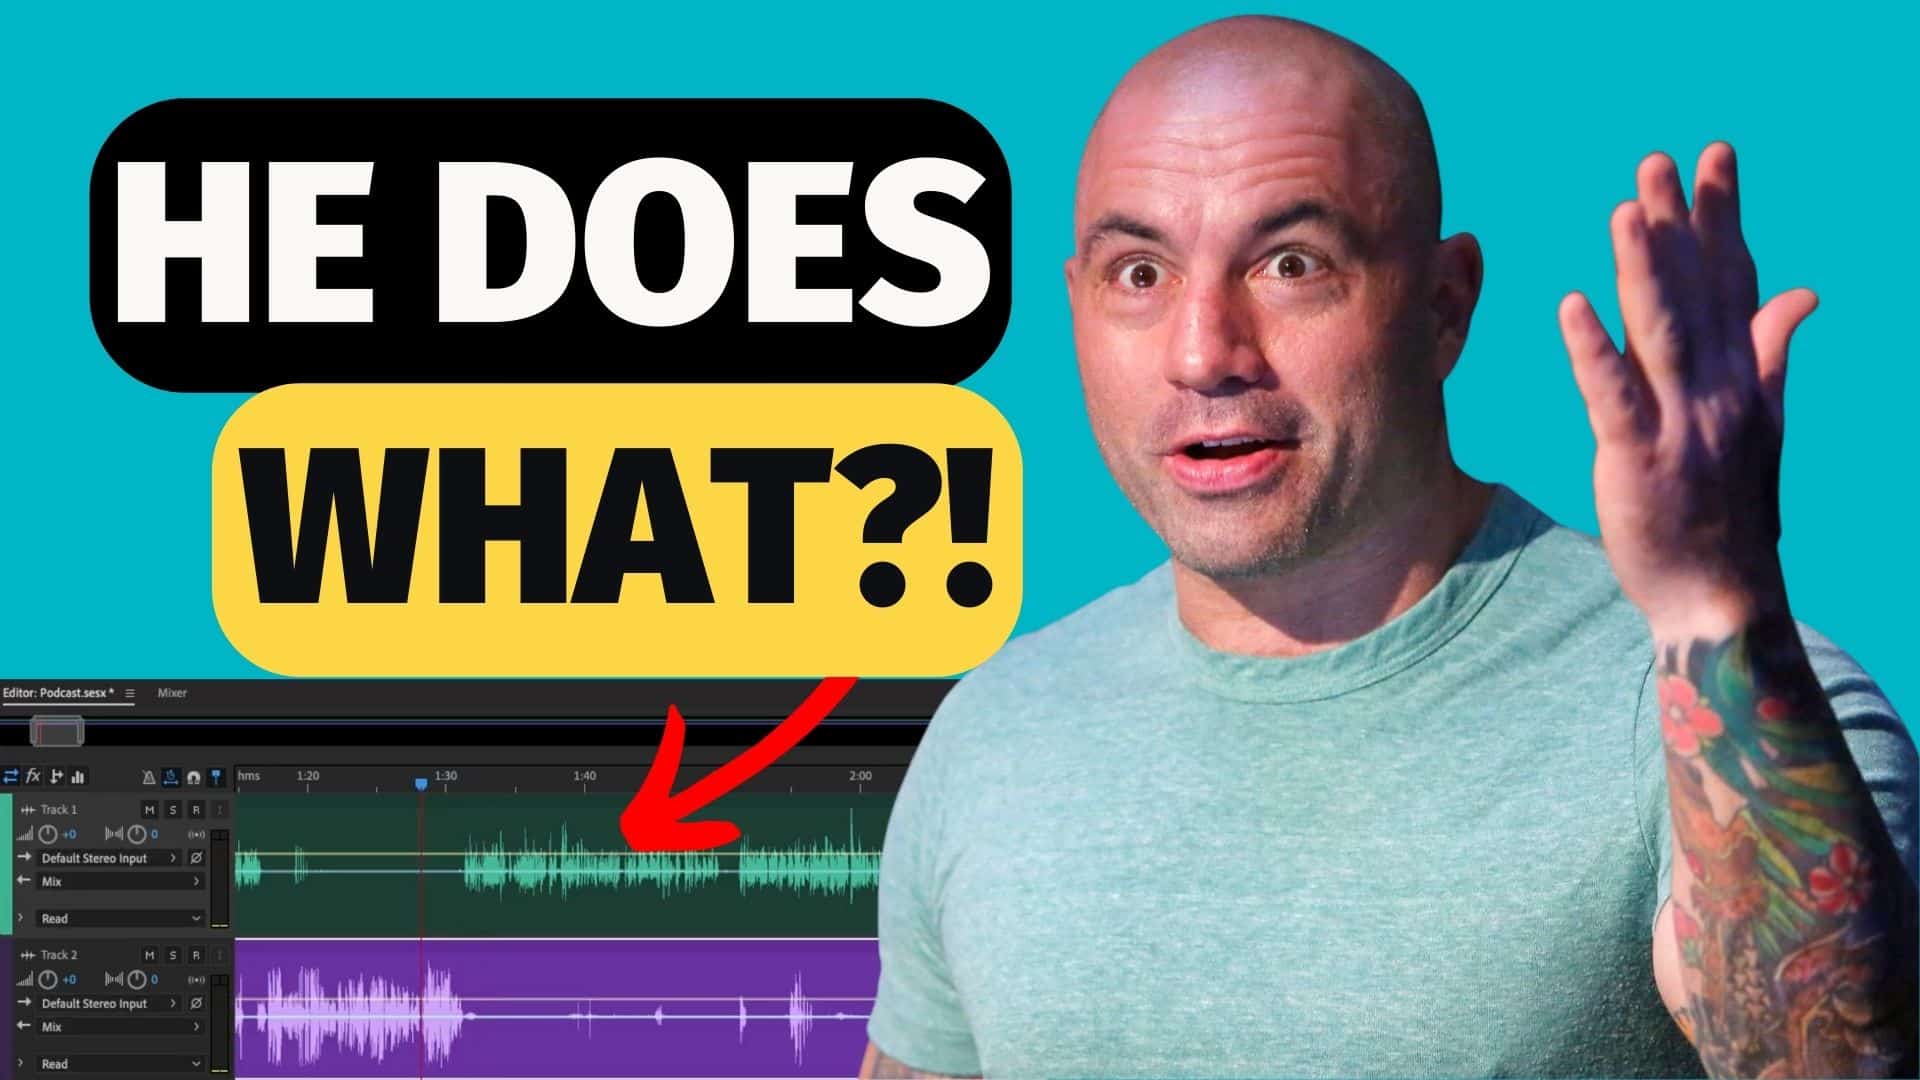
Step 2: Recording Audio
The next step is to record your voice. To do that, click the “R” button on the Host track.

And then to start recording, click the Record icon at the bottom of the window.

After you recorded your lines, you can then stop the recording by pressing the Space Bar on your keyboard or just clicking the Stop icon at the bottom of the window.

You can playback your recorded audio to make sure that there are no errors.
Step 3: Improve Your Sound
Once you’ve finished recording, it’s time to enhance your podcast. Adobe Audition makes it easy to edit your audio files. You can remove any unwanted parts, such as pauses, mistakes, or noise. You can also adjust the volume of your recordings.
Here are a few effects that you can add to your recording to make it sound better.
Effects 1: Parametric Equalizer
The Parametric Equalizer is an audio effect that adjusts the balance between different frequencies in your audio recording. With parametric EQ, you can enhance certain frequencies or reduce others, depending on the desired effect. It is an easy-to-use audio effect that can help you fix issues like low-end rumble and harsh high-end frequencies.
You can adjust the frequency bands to your liking on the Parametric EQ window. For example, increase the high-end frequencies, which can help make your voice sound clearer and crispier. Also, you can eliminate low-end rumbles by reducing the low-end frequencies.
Effects 2: Dynamics
The Dynamics audio effect helps to even out the levels of your recording. It is perfect to use when you are working with two interviews at different levels and they sound all over the place or the clip just doesn’t sound good.
There are a few effects we can tweak on the Dynamics window such as Compression. Compression is an audio effect that reduces the dynamic range of your audio recording. Compression can help you create a more consistent sound and prevent distortion or clipping by reducing the difference between the loudest and softest parts of your audio.
Step 4: Add Music and Sound Effects
Adding music and sound effects to a podcast can improve the quality of the listening experience and help create a more engaging and memorable podcast. You can import any audio files you want to use in your podcast from your computer. To add them to your project, simply drag and drop them into the timeline.
Step 5: Export Your Podcast
When you’re happy with your podcast, it’s time to combine the different tracks and export them. First, go to Multitrack > Mixdown Session to New File > Entire Session.

And then to export the file, go to File > Save As. Choose your preferred file format and file name, and then click OK. Your podcast will now be saved to your computer.


Final Thoughts
Recording and editing a podcast can seem overwhelming at first, but with Adobe Audition, it’s a straightforward process. By following this podcast tutorial, you’ll be able to produce high-quality podcasts that your audience will love.
Remember to speak clearly, remove any unwanted parts, and add music or sound effects to make your podcast engaging and entertaining.
Streamline Your Podcasting Easily
Using pre-made pro audio presets can be incredibly beneficial for podcasters for a number of reasons:
- Time-saving: Podcasters often have tight deadlines and limited time to spend on audio editing. Using pre-made audio presets can save time by providing quick and easy settings for common audio adjustments, such as EQ and compression.
- Consistency: A consistent sound is important in podcasting to help build a brand and keep listeners engaged. Using pre-made audio presets can help ensure that all episodes have a consistent sound quality, which can improve overall production value.
- High-quality results: Pre-made audio presets are designed by experienced audio professionals and can offer a higher level of expertise than a podcaster may have. This can result in better sound quality and a more polished final product.
- Easy to use: Many pre-made audio presets are designed to be user-friendly and can be applied with just a few clicks. This means that even podcasters with little to no audio editing experience can achieve professional-level results.
- Cost-effective: While hiring a professional audio engineer can be costly, pre-made audio presets are often much more affordable and accessible, making them a great option for podcasters who are working with a tight budget.
Overall, using pre-made pro audio presets can save time, ensure consistency, produce high-quality results, and be cost-effective for you. If this appeals to you – check our presets out here.