If you want to add a cinematic touch to your videos, your voice is a critical element that can help you achieve that. With Adobe Premiere Pro, you can use different tools to enhance your voice and give it the cinematic quality you are looking for. In this blog, I’ll discuss how to make your voice sound cinematic using Adobe Premiere Pro. Before you begin editing your audio, make sure you have recorded it with a high-quality microphone. This will ensure that the audio has a clear and crisp sound that is essential for creating a cinematic effect.
Step 1: Use the Parametric Equalizer
The parametric equalizer tool allows you to pinpoint the audio frequencies you’d like to boost or cut. To do this, go to Effects > Audio Effects > Filter and EQ > Parametric Equalizer.

And then drag Parametric Equalizer onto your clip.
Under the Effects Control, access the Parametric Equalizer tool by clicking the edit button.

On the Parametric Equalizer window, change the preset from “Default” to “Vocal Enhancer”.

By adding this preset, you can make your voice stand out and pump by boosting the high-end frequencies as well as the bass.
Step 2: Utilise Single-Band Compressor
Adding compression to your clip can make it sound more even and polished. To do this, go to Effects > Audio Effects > Amplitude and Compression > Single-band Compressor. From there, drag the effects onto your clip.

Next, under the Effects Control, access the Single-band Compressor tool by clicking the edit button.

On the Single-band Compressor window, here are the controls that you can adjust. (source: Adobe)
- Threshold – the level at which compression begins. Once a threshold level is set, any audio below the threshold will be unaffected, but any audio above the threshold will be compressed by the ratio set.
- Ratio – the amount of attenuation or downward compression that will be applied once a signal reaches the threshold.
- Attack – how long it takes the audio signal to be fully compressed to the ratio set after it has crossed the threshold.
- Release – how long it takes the audio signal to revert from being affected to uncompressed.
- Output Gain – used to turn the overall level of the signal back up.

Make a few tweaks on these controls depending on your original audio and your desired outcome.
Step 3: Make Use of Multiband Compressor
Another amazing tool inside Adobe Premiere Pro is the Multiband Compressor. It allows you to split a track into different frequency ranges and compress them independently. Use this one with caution though because it can be quite harsh on your audio.
To do this, go to Effects > Audio Effects > Amplitude and Compression > Multiband Compressor. Again, drag this effect onto your audio clip.

To access the Multiband compressor tool, click the edit button, under the Effects Control.

Now, on the Multiband Compressor window, change the “Default” preset to “Pop Master”. It’s a great preset that helps achieve a cinematic effect.

You’ll find sliders on the Multiband Compressor window. They’re quite similar to the controls on the Single-band compressor tool. The only difference is that, on the multiband compressor, you can compress the different frequencies independently.
So for example, if you want to roll off a lot of the high-end frequencies without affecting the other pitches, then use the high-end slider to do so.

Step 4: Add Reverb
Finally, adding reverb to your clip can help create a cinematic experience. It can add a sense of depth to your voice.
To do this, go to Effects > Audio Effects > Reverb. Drag Studio Reverb onto your audio clip.

Again, to access the Studio Reverb tool, click the edit button under Effect Control.

On the Studio Reverb window, choose the “Vocal Reverb (small)” preset. It’s a standard reverb that is perfect for beginners.

Technical Know How
There are a few controls you can play with to achieve your desired cinematic effect. (Source: Adobe)
Characteristics
- Room Size: Sets the room size.
- Decay: Adjusts the amount of reverberation decay in milliseconds.
- Early Reflections: Controls the percentage of echoes that first reach the ear, giving a sense of the overall room size. Too high a value can result in an artificial sound, while too low a value can lose the audio cues for the room’s size. Half the volume of the original signal is a good starting point.
- Width: Controls the spread across the stereo channels. 0% produces a mono reverb signal; 100% produces maximum stereo separation.
- High Frequency Cut: Specifies the highest frequency at which reverb can occur.
- Low Frequency Cut: Specifies the lowest frequency at which reverb can occur.
- Damping: Adjusts the amount of attenuation applied to the high frequencies of the reverb signal over time. Higher percentages create more damping for a warmer reverb tone.
- Diffusion: Simulates the absorption of the reverberated signal as it is reflected off surfaces, such as carpeting and drapes. Lower settings create more echoes, while higher settings produce a smoother reverberation with fewer echoes.
Output Level
- Dry: Sets the percentage of source audio to output with the effect.
- Wet: Sets the percentage of reverb to output.
These four easy steps can help you achieve cinematic sounds using Adobe Premiere Pro. Make sure you learn how these effects work and what they can do for your clips to make the most of them.
You can watch this video to see how I applied these effects to transform a normal clip into a cinematic audio.
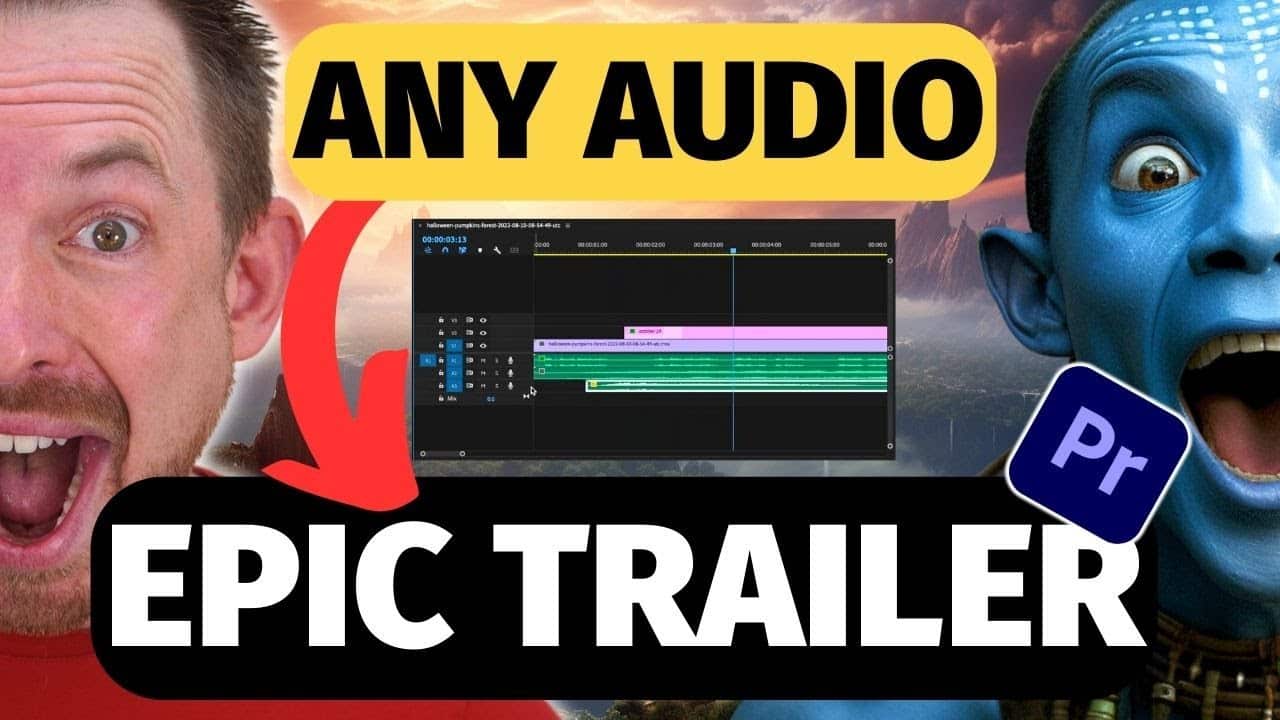
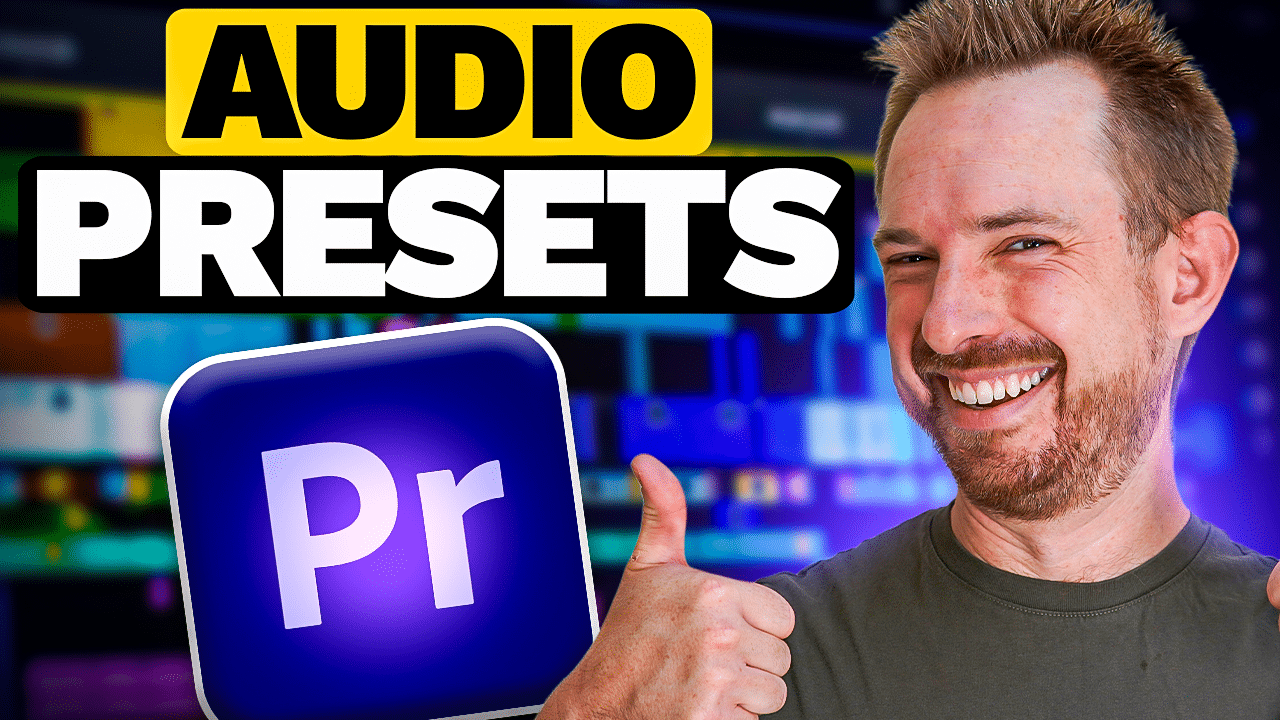
Premiere Pro Cinematic Voice Presets
I appreciate that the above explanation covers a lot of steps and more detailed knowledge on how to edit audio using Premiere Pro. The good news is – you can have the perfect cinematic sound with no audio editing knowledge! Check out my Cinematic Voice Presets for Premiere Pro. Make the voice over sound cinematic, big and bold with one simple click – no tweaking required.
Included in the price you get 3 voice presets made to suit every type of cinematic trailer.
– Clean – gentle pitch down on the voice to make it deeper.
– Deeper – make voice deeper, more pronounced and impactful.
– Space – adds another dimension to the voice.
Final Thoughts
Creating cinematic recordings is now easier than ever before with Adobe Premiere Pro. There are various audio effects inside the tool such as audio equalizer, compressor, and reverb that, if used correctly, can transform dull audio into a cinematic recording.