Adobe Audition is, without doubt, a podcaster’s best friend when it comes to recording and post processing your podcast. I’ve used Audition for a couple of decades (even since it was known as Cool Edit Pro) and can say there is no better software in terms of user interface, ease of use, and speed.
You’ll often hear podcasters that start out using free software solutions, such as Audacity, but a switch to Audition will improve your workflow and save you time.
Recording Your First Podcast
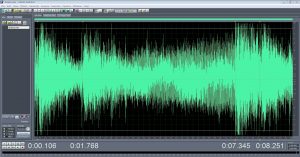
Let me assume, in this section, that you’ve never used Adobe Audition before. If you’re a complete newbie you’ll want to start by loading the software for the first time and then clicking File > New > Audio File… from the menu bar. Give the file a title and then hit the record button along the bottom (a red circle icon).
Start recording and then when you’re done you can hit spacebar or the stop button in the bottom row of icons. You can then play back any section of your audio by selecting a part of the waveform and then hitting spacebar or the play icon in the bottom row.
You may re-record any section of audio you like by simply selecting anywhere in the waveform and repeating the record process.
Basic Waveform Edits
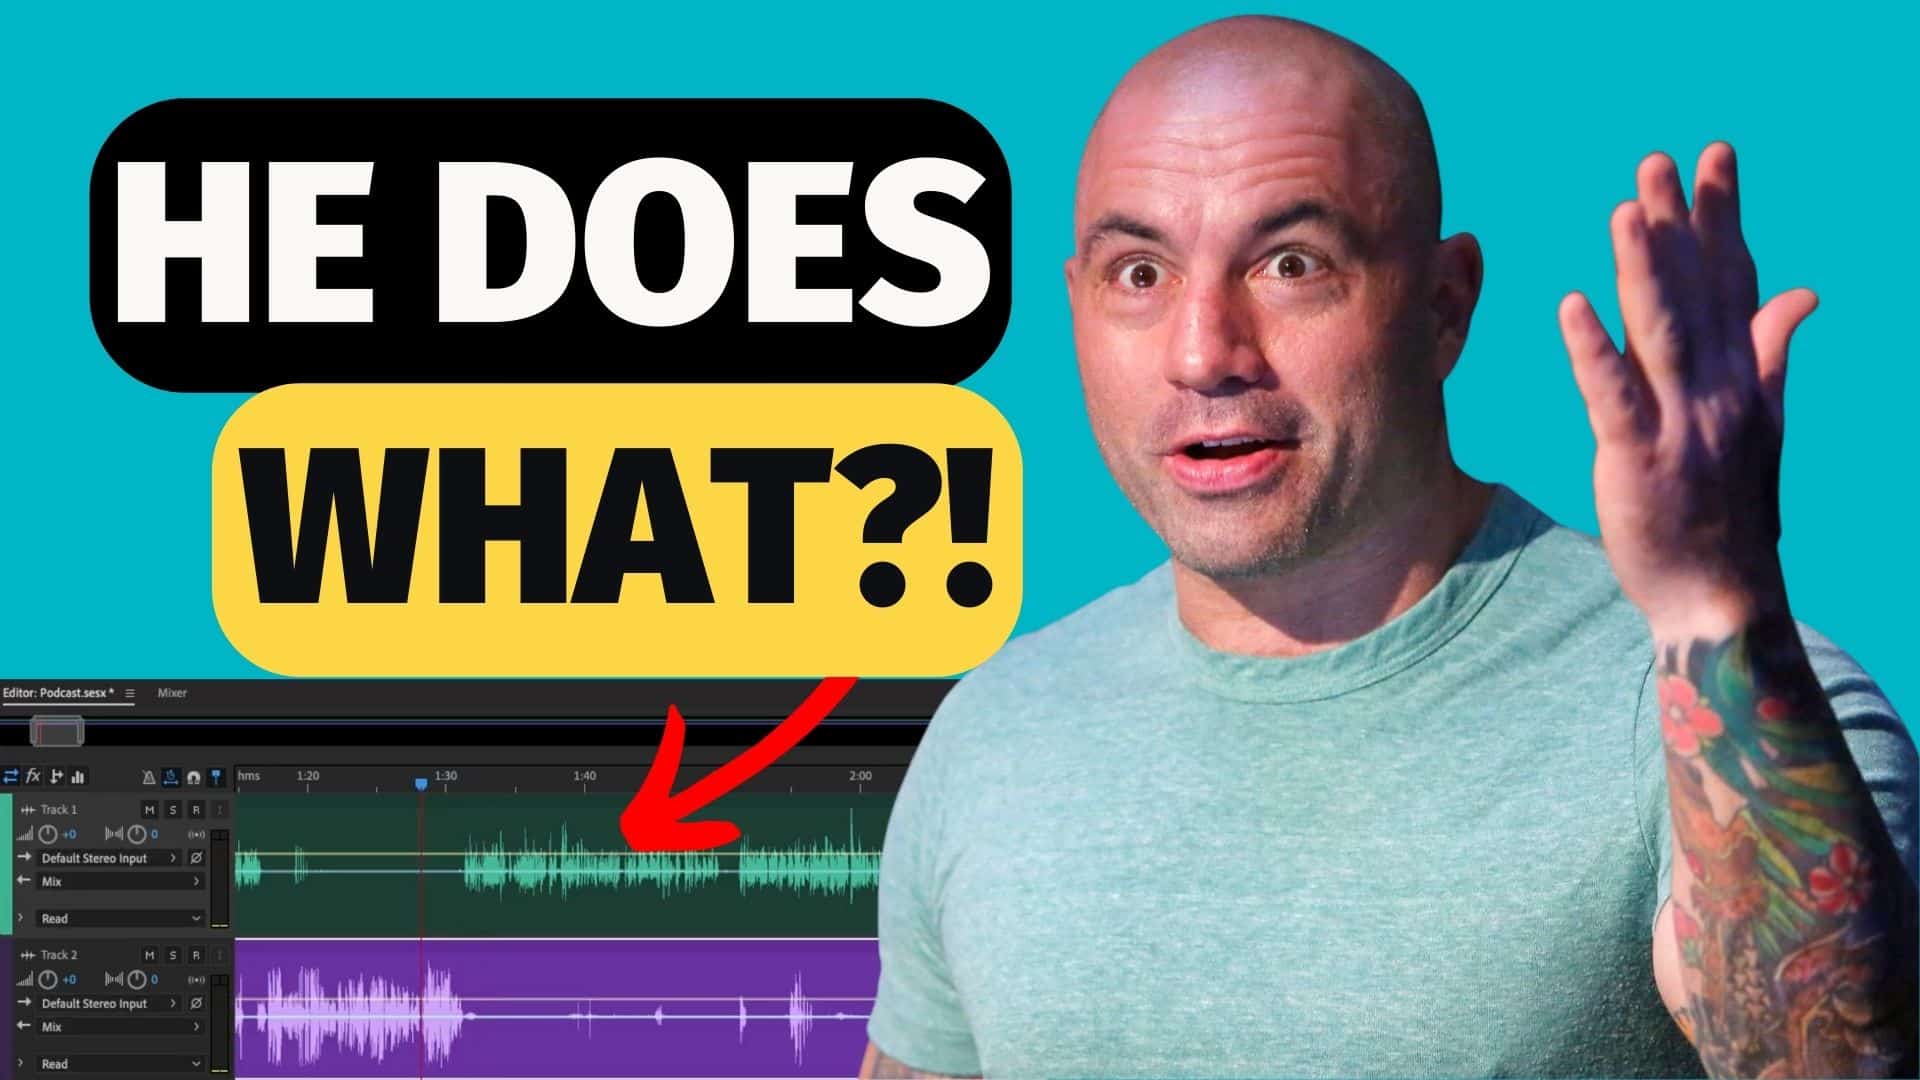
You may wish to go through your first audio recording and edit out awkward silences. I’ll show you how to do this non-destructively (meaning you don’t alter the original recording you created) later in this tutorial. If you’re in the waveform view – which you will be if you’ve just finished recording – you can select any portion of the audio with your mouse and hit delete. This will make a destructive edit to your audio.
Destructive vs. Non Destructive Audio Edits
A destructive edit means the audio is gone forever from the recording (unless you choose Edit > Undo directly after making the edit) there is no way to recover the audio. A non destructive edit will leave the original waveform completely untouched so you may edit to your heart’s content.
Cut, Copy and Paste for Audio
If you’ve ever used a word processor or graphics software I’m sure you’ll be familiar with cut, copy, and paste. You can do this with audio to by selecting part of the audio and then using the Cut, Copy, or Paste functions in the Edit menu of Audition. These are also accessible on easy hotkeys, as with any software, they are usually Cmd or Ctrl X, C, and V.
Making Podcast Editing a Breeze with Shortcut Keys
One of the first things you’ll want to get setup in Adobe Audition, before you get into any hardcore editing, are shortcut keys. They will save you so much time and will make repetitive audio editing tasks a breeze.
Normalize is one feature I use all the time. This is to maximise the amplitude of the audio you’ve recorded. If I had to access it from the Effects > Amplitude and Compression > Normalize… area of the menu bar each time I wanted to do it I’d be editing all day!
Setting shortcut keys is easy. Simply go to the Edit menu then click Keyboard Shortcuts… find the Normalize to -0.1dB option, click the Add button and then type the shortcut key you’d like to use. I’d opt for something simple like the N key for Normalize.
Here are shortcut keys I use all the time:
S = Silence
N = Normalize
[ = Fade In
] = Fade Out
Adding Markers to your Recording
Adobe Audition has a fantastic feature that enables you to add markers to your audio while recording. This can be especially useful if there’s a point where you or your guest stumbles or there is something said that you want to return to in post processing.
It’s simple to add a marker just push the M button while recording. You’ll end up with a clear white line at that point in your audio which you may then return to in post editing of your podcast.
If you want to quickly access many markers that you’ve placed in your recording you can go to the Window > Markers option in the menu and then double click each marker you want to access.
You can delete markers by selecting them and hitting the delete key or rename them by clicking into the name and changing the title.
How to Switch off Snapping
Snapping will snap your cursor to the start or end of a waveform when you’re editing. This can be handy but, in most fine editing cases, it’s annoying. To switch it off just go to Edit > Snapping > Enabled and make sure that Enabled is unticked.
Learn More Adobe Audition
I hope you’ve enjoyed learning the basics of podcast editing and my workflow in Adobe Audition. If you’d like to learn more check out my YouTube channel containing hundreds of free Adobe Audition video tutorials at https://www.youtube.com/musicradiocreative

Written by: Mike Russell
Creative Director, Voice Artist, and Audio Producer at Music Radio Creative.