In this tutorial, I’ll show you how to use Adobe Audition.
If you’re reading this, you’re probably thinking about getting started with Adobe Audition. Well, the good news is that it can help you not only record great audio and podcasts, but also let you edit audio for your videos to upload to YouTube etc.
Let’s get started.
Setting Up Workspace
The first thing you’ll see is the default interface. Before even hitting record (the red button at the bottom), make sure your audio devices are set up correctly.
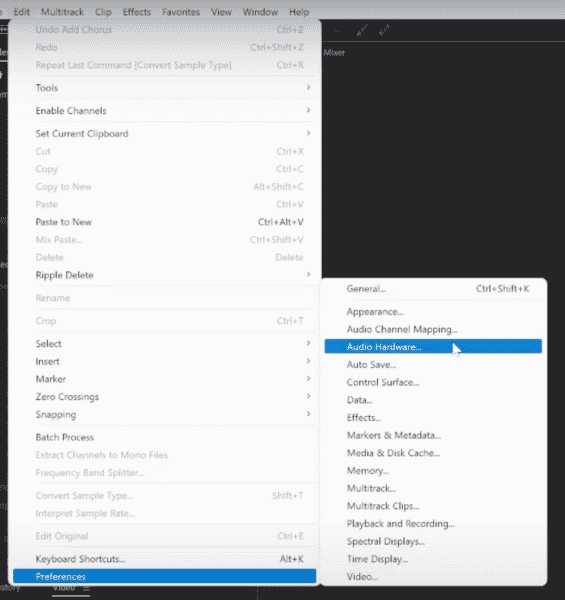
On Windows, that’s under Edit > Preferences and on a Mac, it’s under the Adobe Audition CC menu > Preferences.
From there, you’ll want to go to Audio Hardware and make sure you select your audio input and output device.
You’ll also want to go to Audio Channel Mapping and make sure you’re recording to the right channels as well as playing back from the right channels.
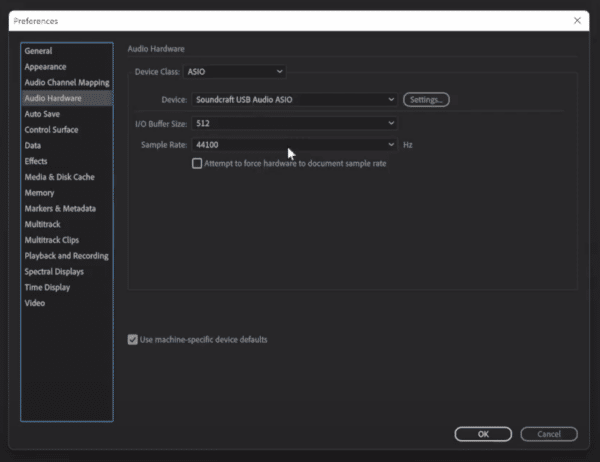
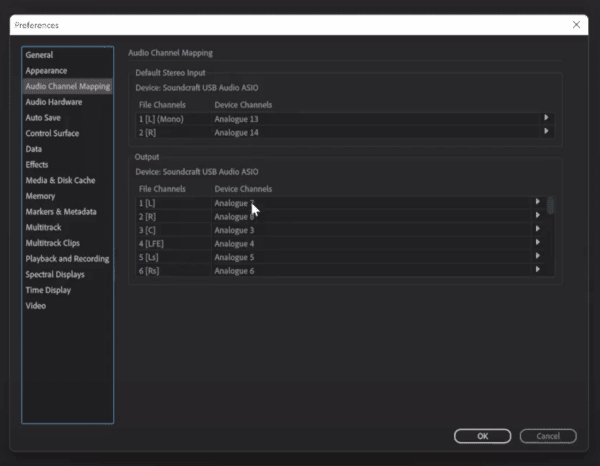
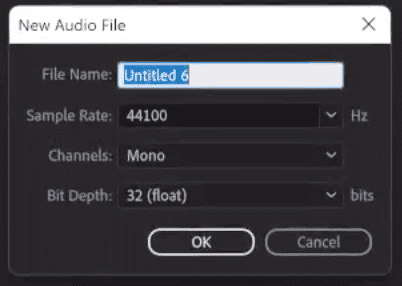
Once that’s set up, hit record and give your audio file a name. Keep the Sample Rate at 44100 Hz, choose Mono or Stereo. Always record at a Bit Depth of 32 (float) (you’ll thank me later!).
Improving Your Audio In Adobe Audition
Once you’ve recorded your audio, you can remove any unwanted sections by simply selecting the section with your cursor and hitting Delete.
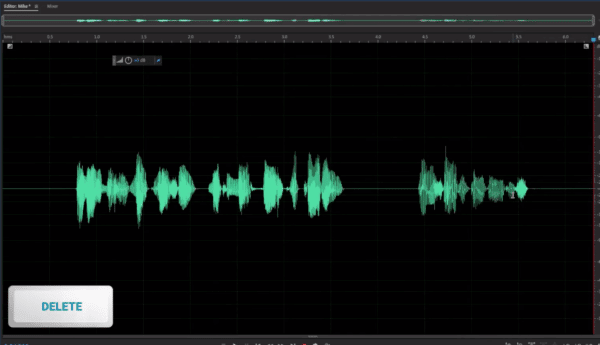
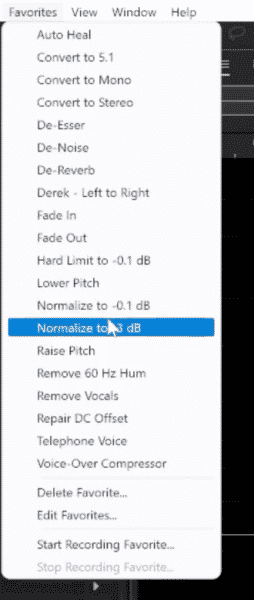
Next, you can increase or decrease the volume by dragging the volume knob up a few dBs. Alternatively, you can just set your audio to the loudest it can be without distorting. Do this by going to Favourites and either Normalize to -0.1 dB, or if you don’t like being too close to the distortion, –3 dB. However, if you record in 32 bit, you can go above 0 dB and still be able to rescue your audio and it will never distort – how cool is that?!

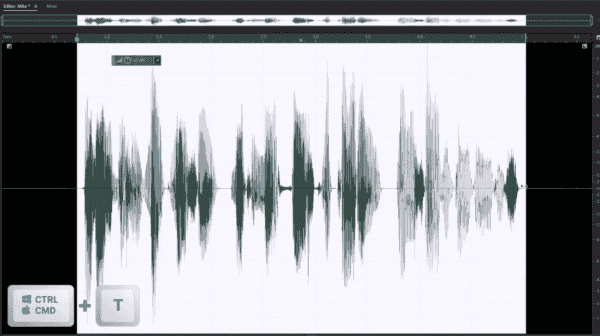
You can also top and tail – or trim – your audio, by selecting just the audio you’d like to keep and hitting CTRL / CMD + T.
Adding Effects In Adobe Audition
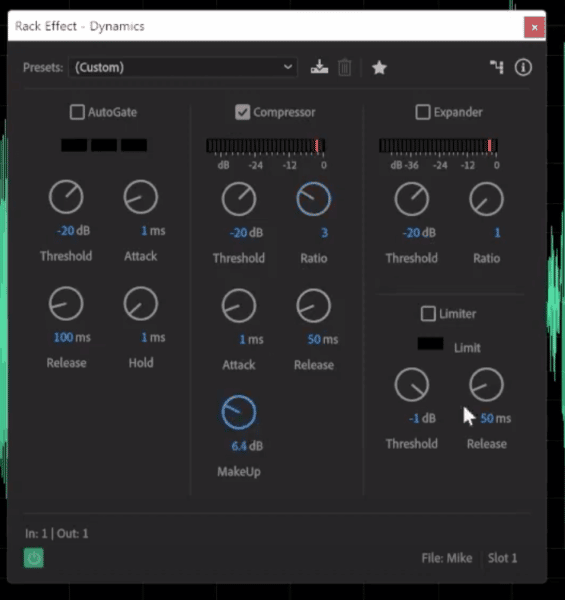
If you’d like to use some basic voice effects, you can do that too by using the Effects Rack to the left on side. By default, there should be no effects in there. Keeping things simple, you can start by going to Amplitude and Compression > Dynamics.

This is a big effect, so I always set things to Default before I start. Next, turn the Compressor on, and the Ratio up and perhaps add some MakeUp gain. Click apply, and you’ll get nicely compressed audio all at the same level.
If you need to make it slightly louder again, simply head back to the Favourites menu and Normalize. Watch the level lights as you play it back and try not to let them get into the red.
Editing Audio Inside Multitrack
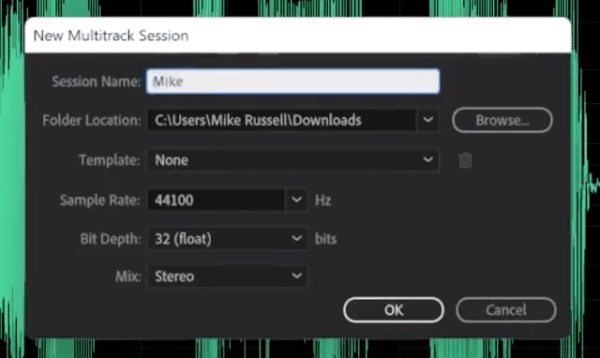
The Multitrack interface in Adobe Audition allows you to mix multiple clips. To do it, switch from Waveform to Multitrack in the top left, just beneath the menu. Next, give your session a name, and bring in the audio you were working from in Waveform by dragging and dropping it from the left-hand side.

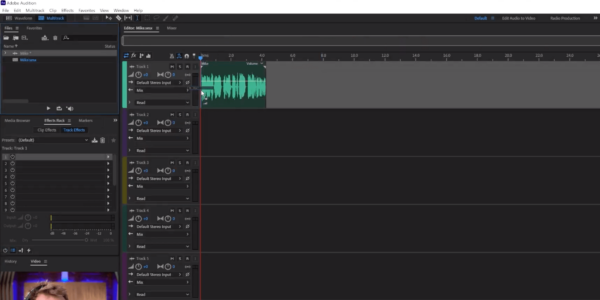
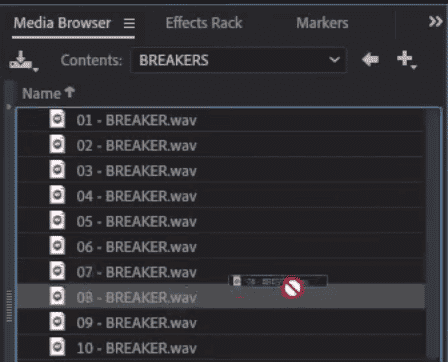
You can then go to your Media Browser and bring in any other files you like – such as an effect or music track.
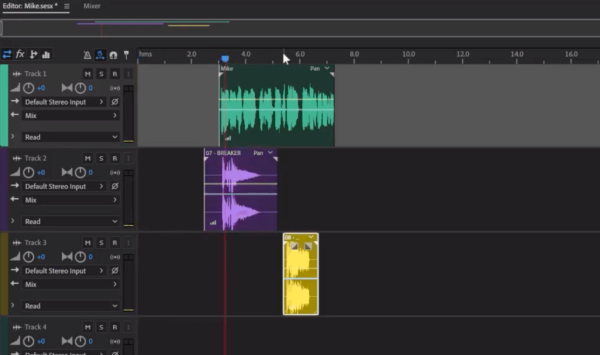
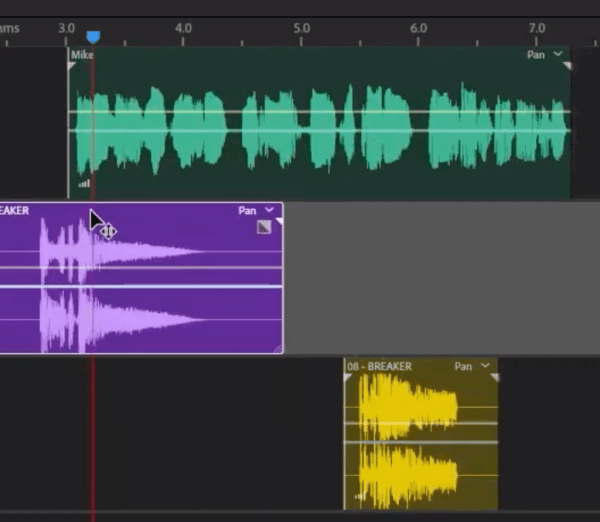
Select the time bar at the top of the Multitrack view and zoom using the scroll wheel to get a closer look and make accurate changes to your tracks.
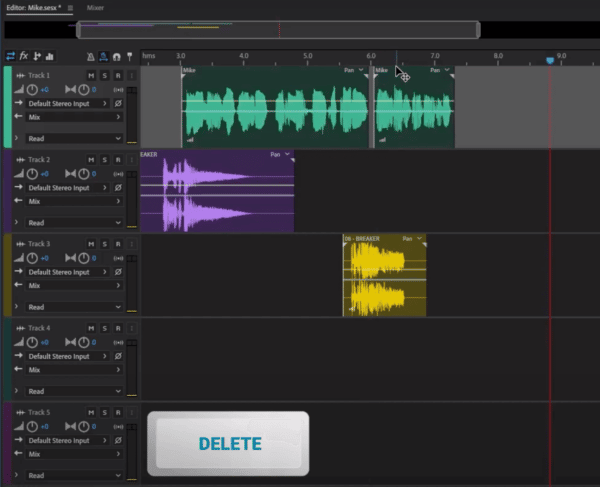
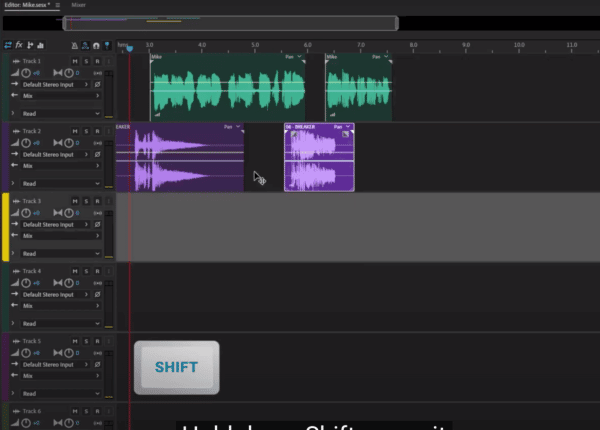
You can move the tracks around by grabbing the titles and left clicking. You can also highlight and make a cut press hitting Delete. To move audio, or sections of audio, up and down the tracks, hold down Shift to lock it in time and move it using the cursor without it going everywhere.
And that’s just about all you need to know to create your first Multitrack mix in Adobe Audition.
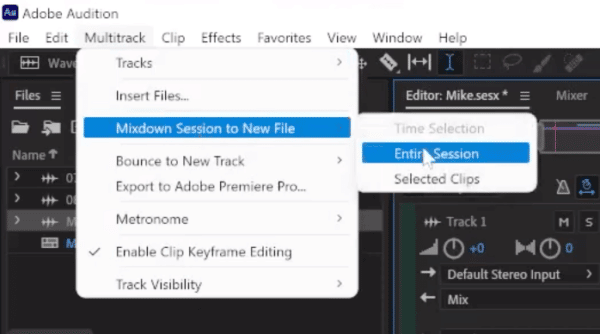
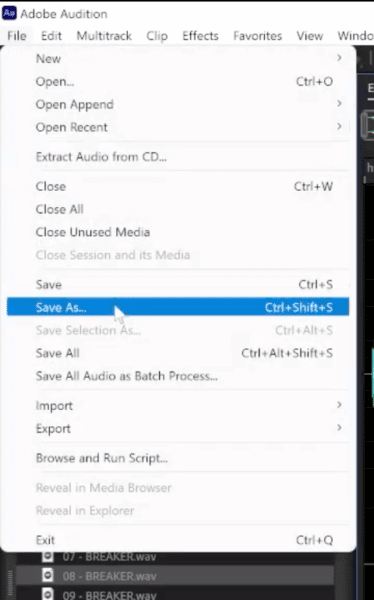
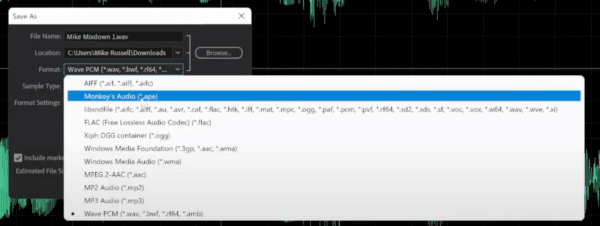
Finally, to save your audio, go to Multitrack > Mixdown Session to New File > Entire Session. Then go to File > Save As, choose your audio of choice, give your creation a name and hit OK.
And there you have it – that’s about all you need to get started with Adobe Audition!
Learn More About Editing With Adobe Audition
- Three Ways To Apply Audio Effects In Adobe Audition
- How To Use Adobe Audition DeEsser
- Adobe Audition Echo Effect Tutorial
- How To Fix Clipped Audio in Adobe Audition
- Adobe Audition Autotune Tutorial – NO PLUGINS
Audio Production Course
Take the opportunity to learn the knowledge Mike Russell has been accumulating over the past 20 years in the audio production industry. The Audio Production Course was made for beginner to intermediate producers. If you would like to produce audio on a professional level – this Audio Production course is for you!

