In this blog, I’ll explain how you can make your voice sound better in the Multitrack Editor of Adobe Audition CC.
Previously, I’ve done tutorials on how to use the Waveform Editor to improve the clarity of your voice using techniques such as ENCN (Equalize, Normalize, Compress, Normalize). But what if you’re working in the Multitrack with no template and no presets – just your mic recording on its own?
Well, the good news is that you can apply some quick-win changes and effects in Multitrack to make things sound much, much better.
Step 1: Volume
Starting with your raw, unprocessed copy, turn the volume up by either grabbing and dragging the volume icon in the bottom left of the track, or right-clicking in the track and selecting Match Clip Loudness, and setting a Target Loudness (-16 LUFS is what I usually go for).
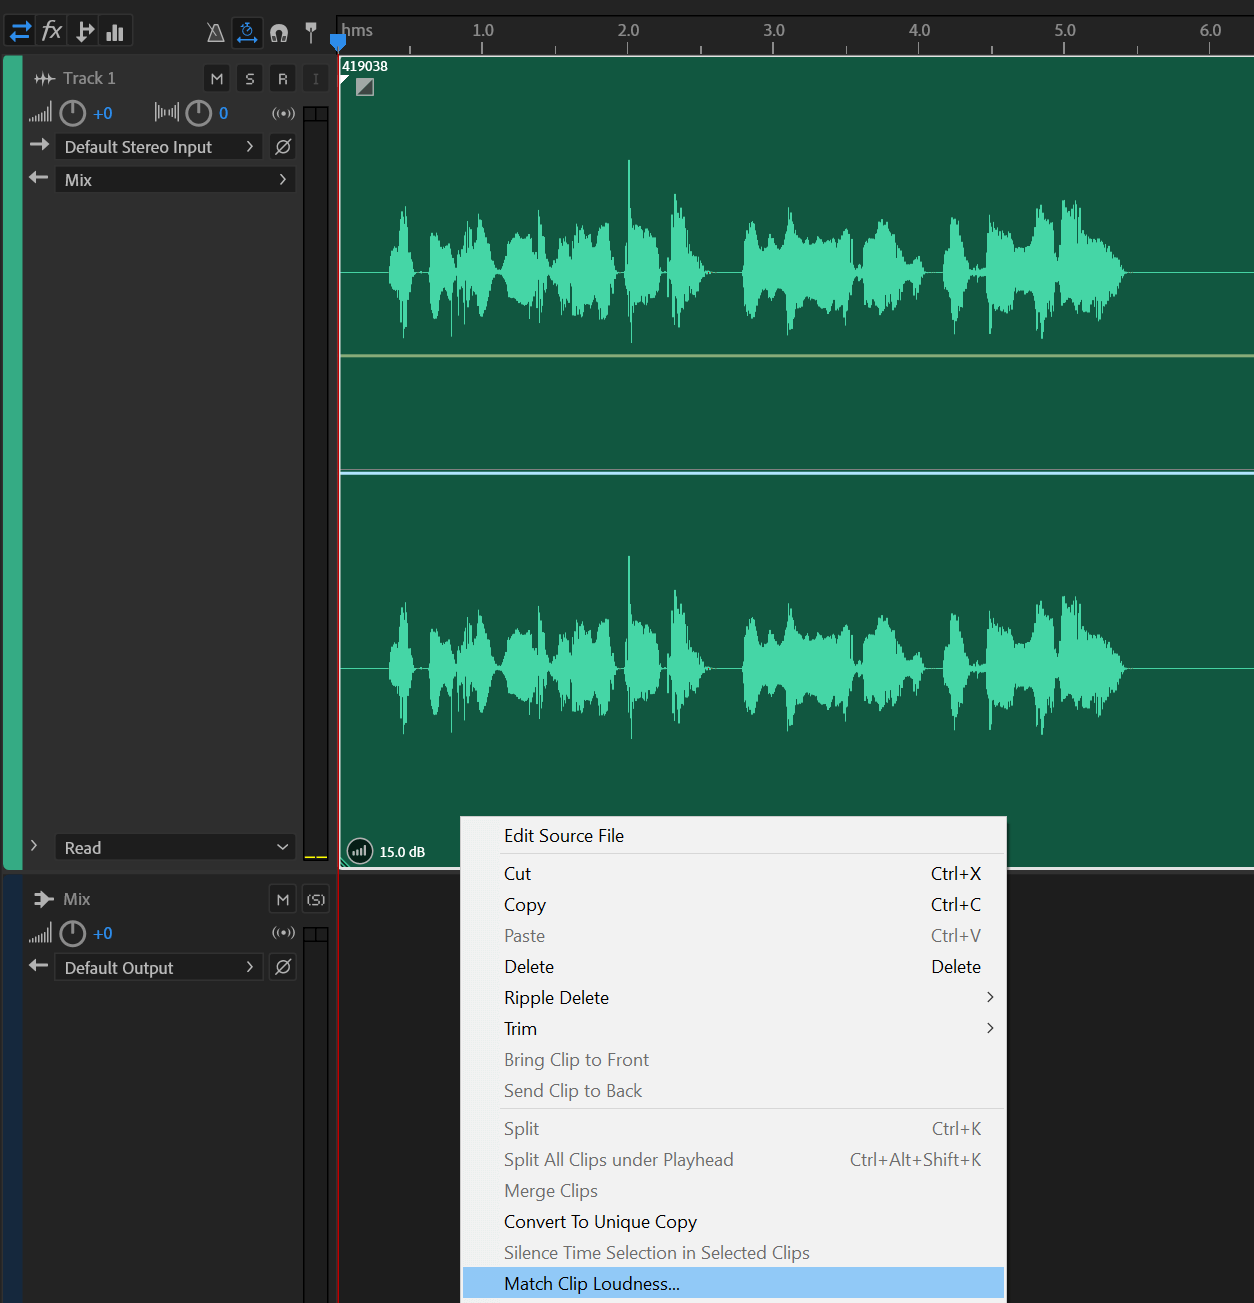
Step 2: Equalize
Another quick-win effect you can make is Equalize.
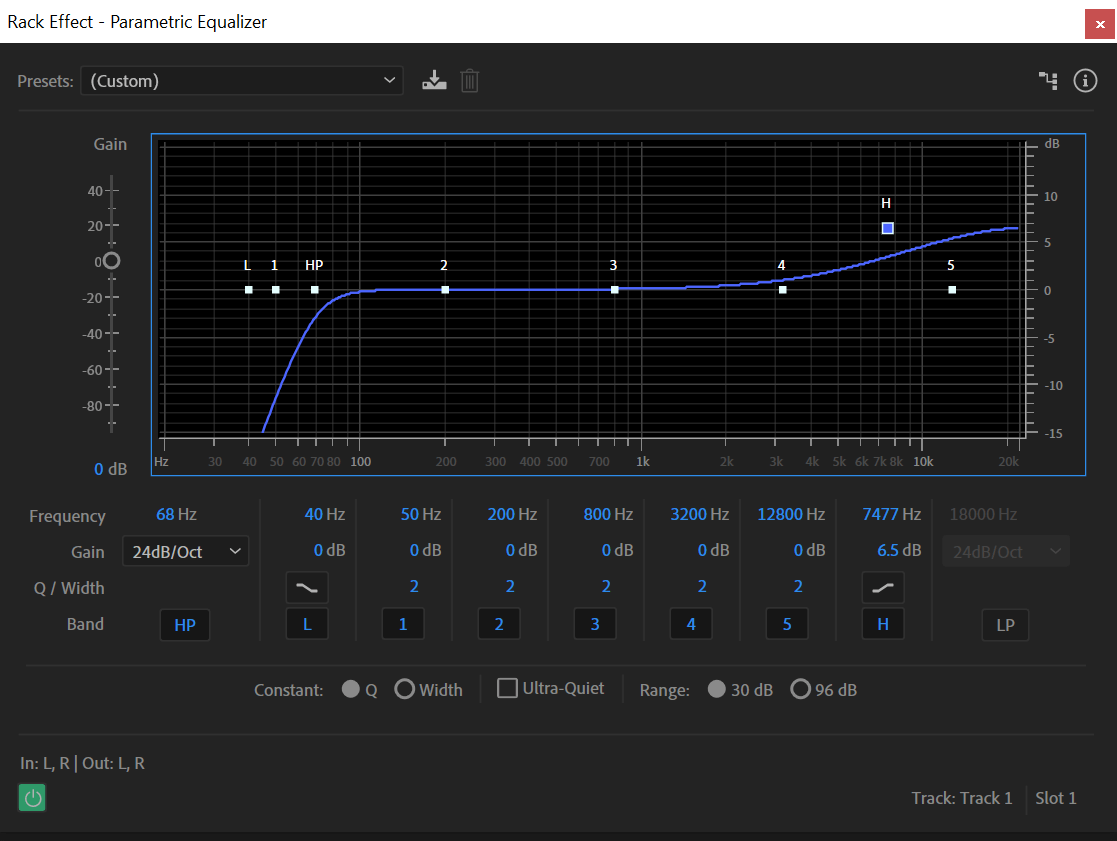
Go into your Effects Rack, right-click and select Filter and EQ > Parametric Equalizer.
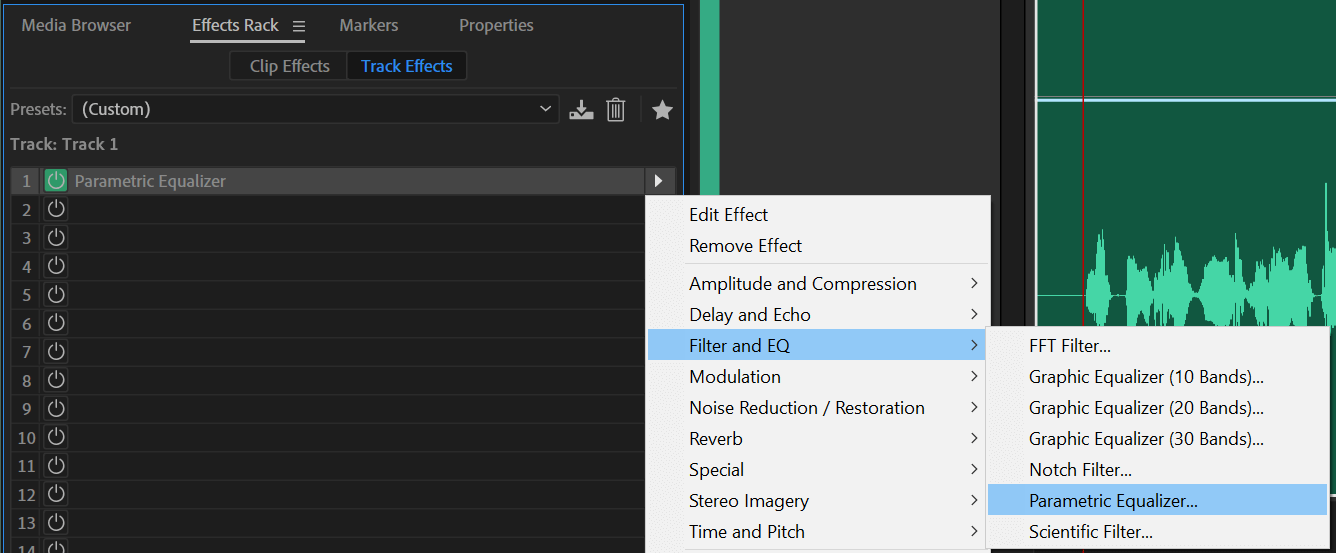
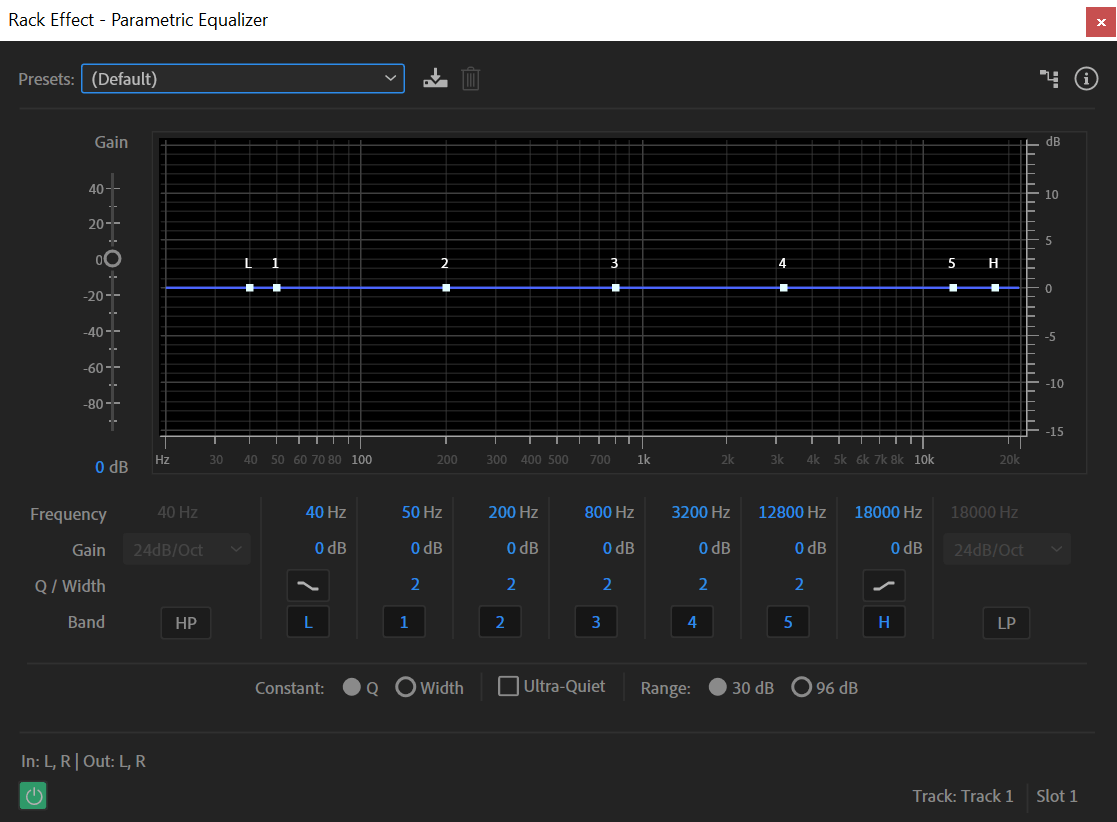
Then, in your Parametric Equalizer window, select Default presets and start by rolling off the bass with a High Pass (HP) filter.
To do this, select HP and drag the top of the curve in, enough so that it makes your voice sound softer, without making it sound too ‘thin’ (around 105 Hz should do just fine).
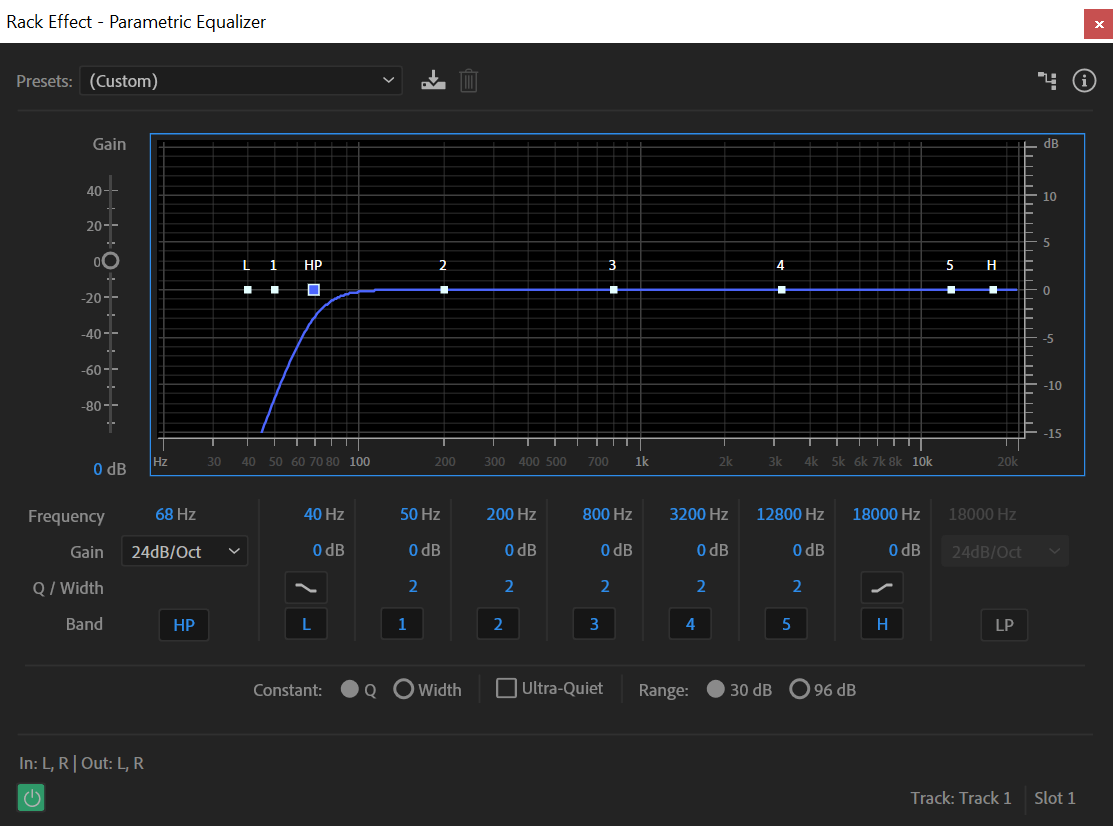
Another quick win you can make at this stage is to add in some high end, by dragging up the end of the curve.
Your voice should now sound a little bit flatter. Have a play around and see what works for you.
STEP 3: Dynamics
After you’ve EQ’d, you can add one of my favorite effects that’s recently been added to Adobe Audition CC – the Dynamics effect.
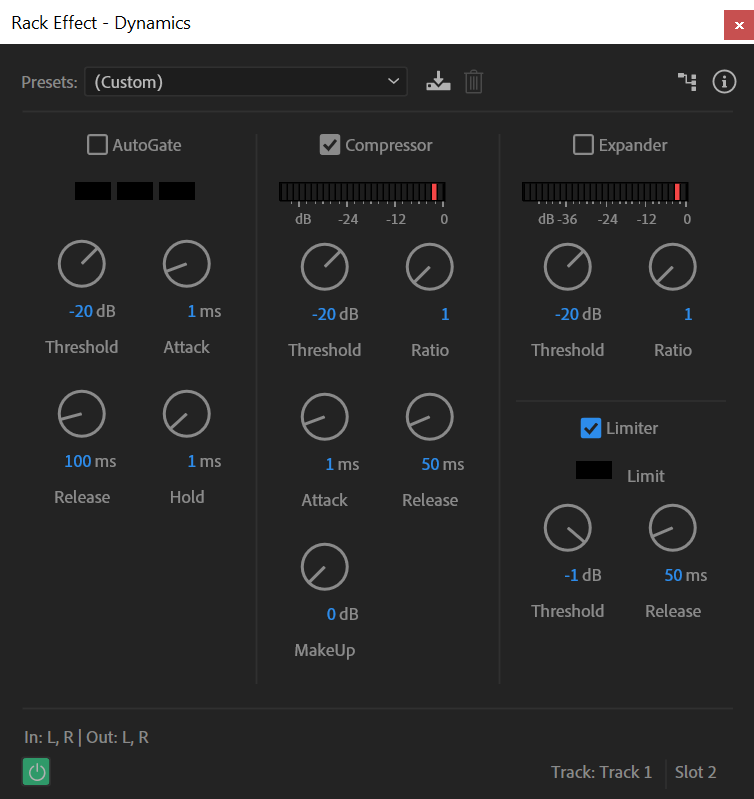
Go into your Effects Rack and select Amplitude and Compression > Dynamics. Here we’re going to be using the Compressor and Limiter to maximize the sound of your audio.
First, select Compressor, and leaving the Threshold at -20, set the Ratio to 2 to start with (if you have it at 1, the Compressor won’t work). Then, have a listen and play around with the compression to see what works best.
Note: Make sure all the other boxes are unticked, so that only the Compressor is enabled.
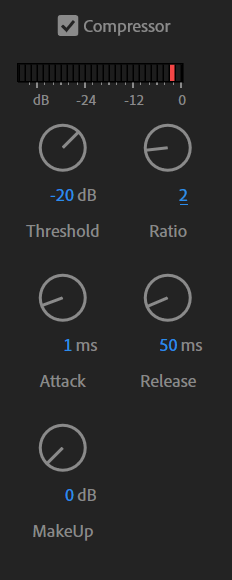
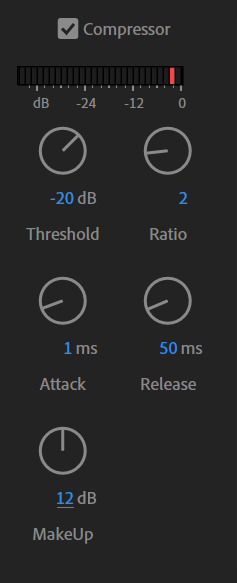
Next, we’ll push the MakeUp Gain up by about 12 dB to turn the level of the overall volume up. Then we can add a Limiter in.
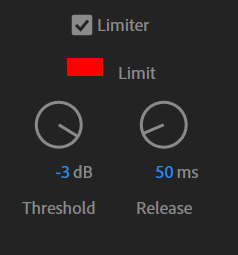
To do so, tick the Limiter box and then set the threshold to around -3 dB, which will stop the volume going above that level.
Then, turn up the MakeUp Gain even more (until the red light comes on), with the idea being to set the MakeUp Gain on the Compressor so that it just tickles the Limiter – with the result being a nicely compressed voice.
And there you go! With those few simple steps in Multitrack, you can make your voice sound better!


