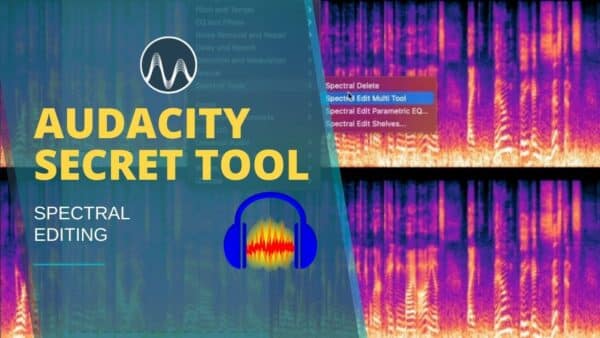
Audacity has always been a great audio editing software with its countless features. But did you know that Audacity has a secret tool that makes noise reduction and removal easier? This tool is called Spectrogram. In this blog post, learn what spectral editing is, how to use it in Audacity, and what spectral tools are available for you.
What is Spectral Editing?
Spectral editing allows you to visualize sound. Instead of seeing audio as just a waveform, you can see it as a spectrogram, which displays the audio frequency over time. This view can help isolate and edit specific sound frequencies with precision.
For example, many audio problems such as hums and wind noises are easier to identify when in the spectral view, making it easier to fix those frequencies.
In simpler terms, spectral editing is making changes to audio by identifying and fixing certain frequency ranges while in a spectrogram view.
How to Use Spectral Editing in Audacity
Open Spectrogram
The first is to switch from the waveform view to the spectral view. This process is straightforward: just click the three dots on the left side of your audio track and then enable Spectrogram.
You’ll now see a colorful visual representation of your audio.
Identify Audio Frequencies
The next step is to listen to the audio and identify which segment needs fixing. This might be confusing for beginners but it’s easy to do.
For example, in the picture below, you’ll see that I selected the audio segment that has wind noise. I identified this by listening to the audio. And then I just clicked and dragged using my mouse to select the segment.
Another example is the picture below. It is the same audio recording but this time instead of a wind noise, I selected the audio segment with harsh sibilance.
Make Edits
Finally, after identifying and selecting the segment of your recording that needs fixing, it’s time to make edits. While the audio segment is still highlighted, go to Effects > Spectral Tools > then choose any from the menu.
If you want to completely eliminate the highlighted audio segment, choose Spectral Delete. Spectral Edit Multi-Tool, on the other hand, is a good choice for less harsh changes. The third choice is Spectral Edit Parametric EQ, which allows you to modify the tone quality using a Gain control. The last Spectral tool from the menu is Spectral Edit Shelves, which allows you to modify the shelf filter curve. These filters are useful when you do not want to reduce the lowest bass or highest treble frequencies in the spectral selection.
Overall, these different Spectral Tools can be used in different cases. A good strategy is to experiment and choose the best tool for your noise reduction use case.
I recorded a YouTube video where I demonstrated how I use Audacity’s Spectrogram to remove wind noises, sibilance, and parrot sounds. Feel free to have a look.
Final Thoughts
Spectral Editing in Audacity is indeed a powerful tool for editors, content creators, and musicians. It allows you to fix audio problems in a more intuitive and visually engaging way. Whether you’re editing a YouTube recording or polishing podcasts, Audacity’s secret tool can streamline your editing process.
Powerful Presets
If you are editing audio in Audacity I encourage you to check out my Aduacity presets. Simple one click solution to sounding better – with no endless tweaking required.
Further Reading
- 10 Powerful Audacity Tips Everybody Should Know
- AI Audacity Upgrade – Free AI Tools You Won’t Believe Existed!
- Audacity PROS and CONS – Producer’s HONEST Take on Audacity
- Noise Reduction – How to Get Rid of Static Noise in Audacity
- How to Use the Audio Equalizer in Audacity? | Audacity Tutorial for Beginners
