


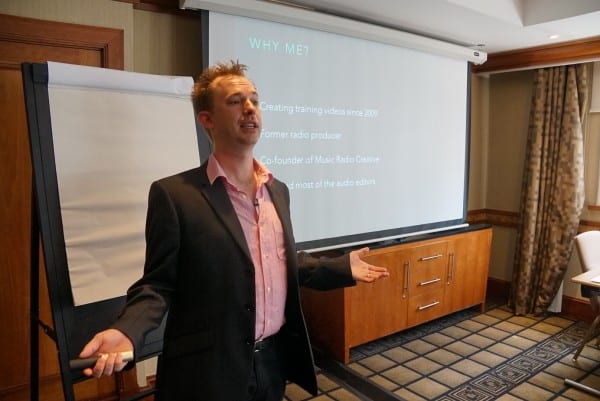

I had the great pleasure of presenting a live workshop about my favorite audio editing software, Adobe Audition, recently at the New Media Europe conference in London.
Starting with answers to the questions, “why me and why Adobe Audition?”
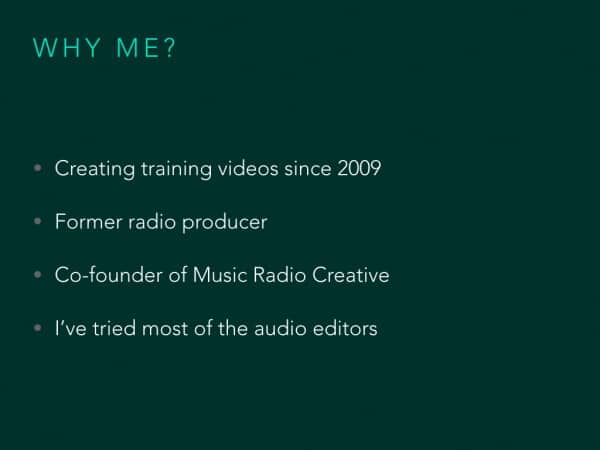
I’ve been creating Adobe Audition tutorials online since 2009, have worked as a radio producer for two decades, I’m the co-founder of audio production company Music Radio Creative and I’ve tried most audio editors at least once. The best is Adobe Audition in my opinion.

Why Adobe Audition. It is a quality piece of software with a great look and smooth way of editing audio. You can create templates to speed up your editing process. The effects are awesome. There is also a very active support community online for the software.
What did we cover in this session?
How to record guests and yourself professionally.

How to make your voice sound better.
Making repetitive audio editing tasks easy.
Removing unwanted sounds from your audio.

Tagging and saving a podcast correctly.
This is how to do all of the above.

First, let’s get started with recording in Adobe Audition.
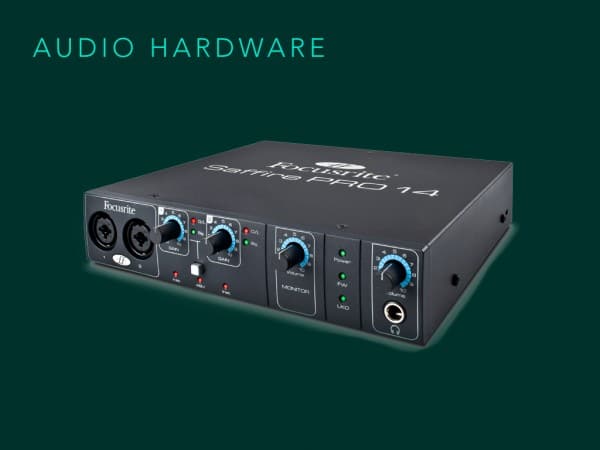
Get decent audio hardware before starting and don’t use an internal sound card (please!) The Focusrite Saffitre PRO 14 is the one I use and recommend. I had a question during my presentation about a more rugged audio interface for travelling podcasters. I recommend the Focusrite Scarlett 2i2 for this purpose.
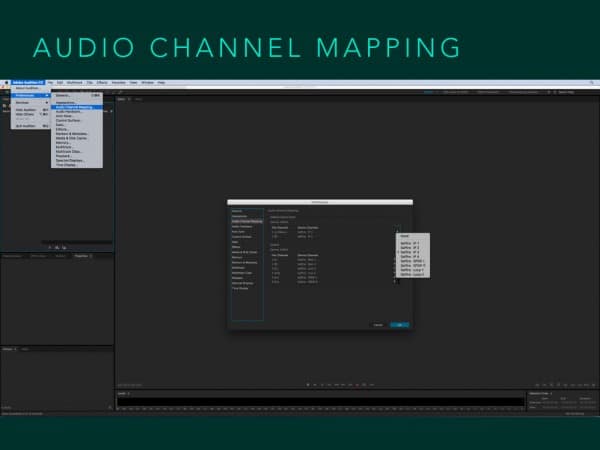
Map those channels from your audio interface into Adobe Audition.
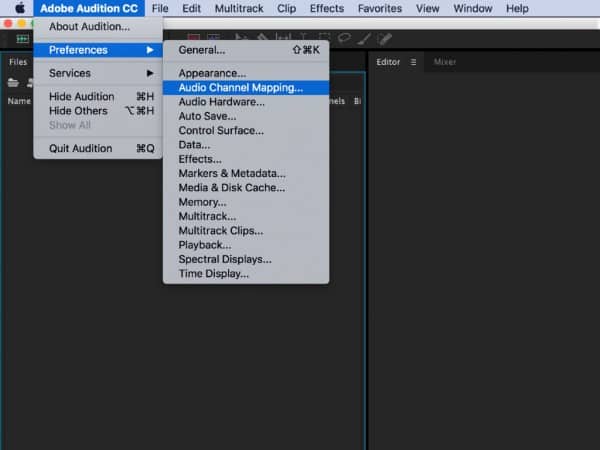
Preferences then Audio Channel Mapping… in the menu bar.
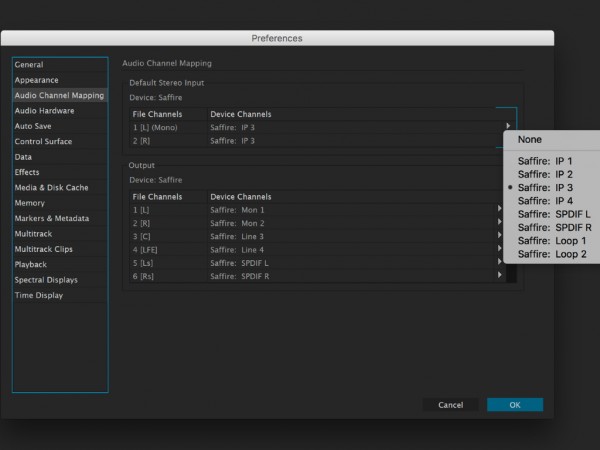
Choose one of the Saffire’s many audio inputs and use the loop to record computer audio (like Skype callers).
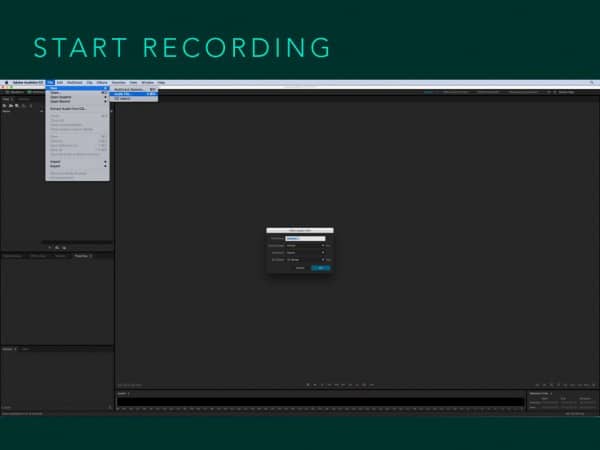
Start recording easily in Adobe Audition.
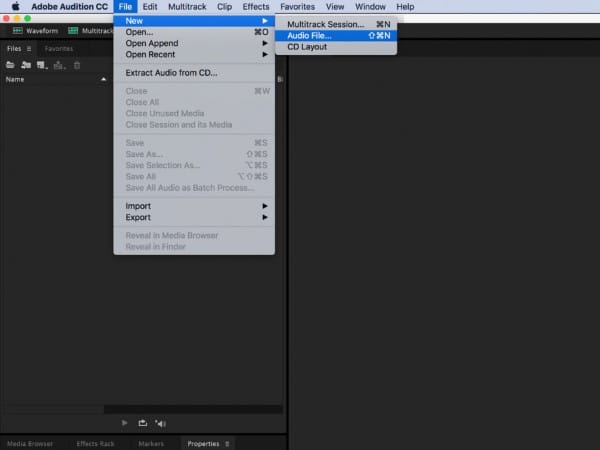
File, New, Audio File…
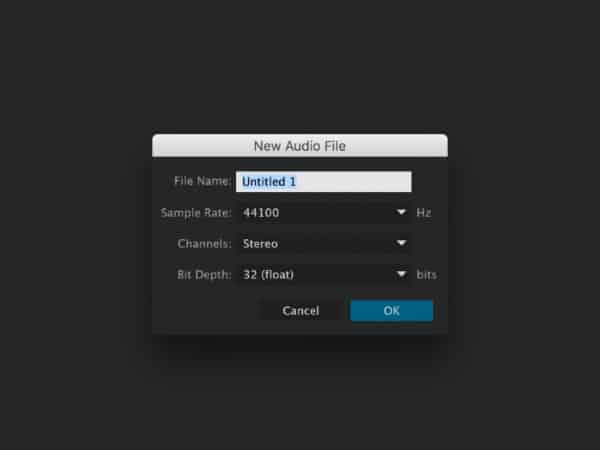
Those settings look good. Sample Rate 44100 Hz for audio, stereo, 32 bit (will cut your worries of distortion compared to simple 16 bit).
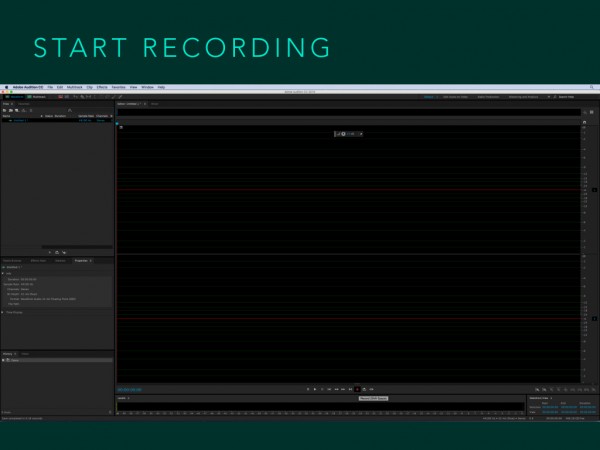
Ready to start?
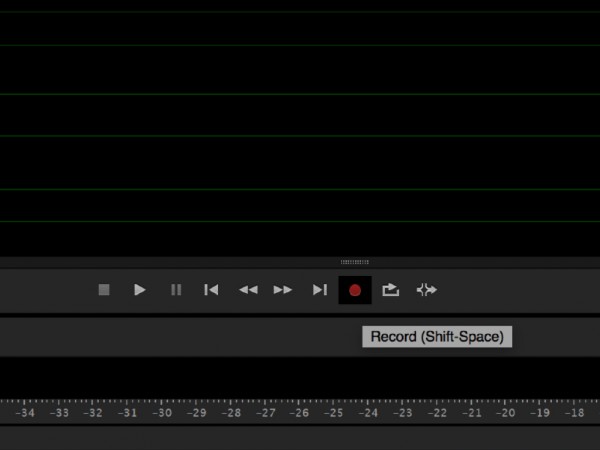
Hit the big red button at the bottom of your screen!
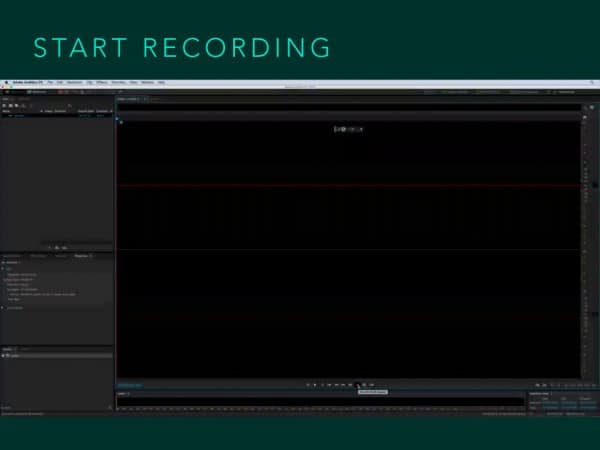
You’ll see audio appear on the screen as a “waveform”.
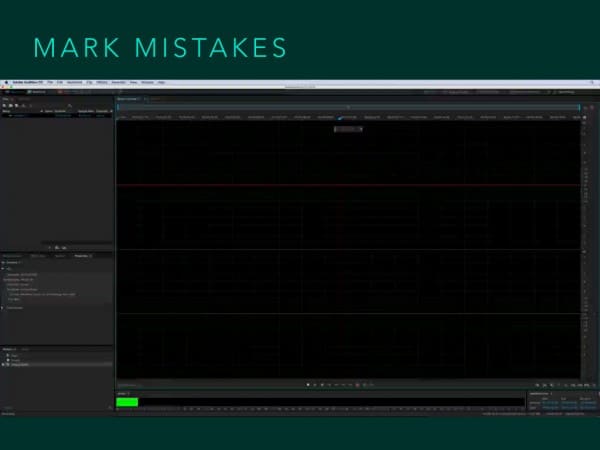
It’s easy to mark mistakes as you’re recording live. Just hit the “M” key on your keyboard to drop a white marker.
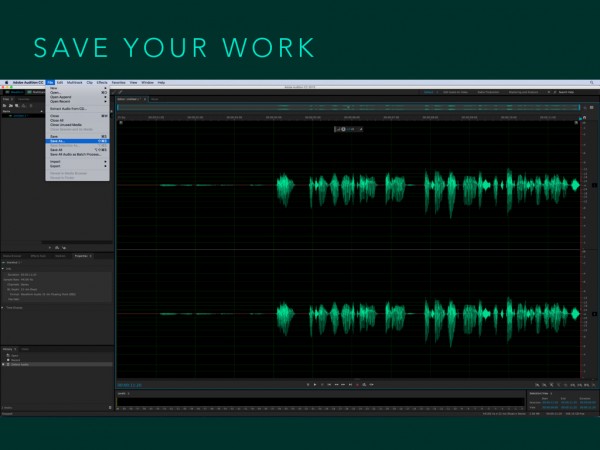
Save your audio easily too!
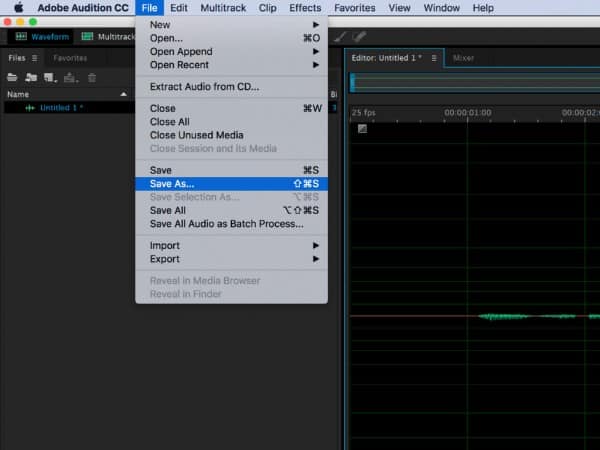
File, Save As… I’ll get to the correct file format and settings later.

Adobe Audition has so many great presets right out of the box to make your voice sound better.
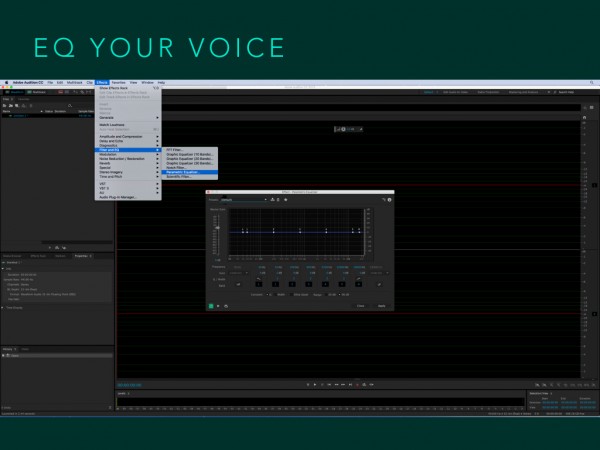
EQ is first. I like to use the Parametric Equalizer. It’s a great way to visually alter sound in a graph format.
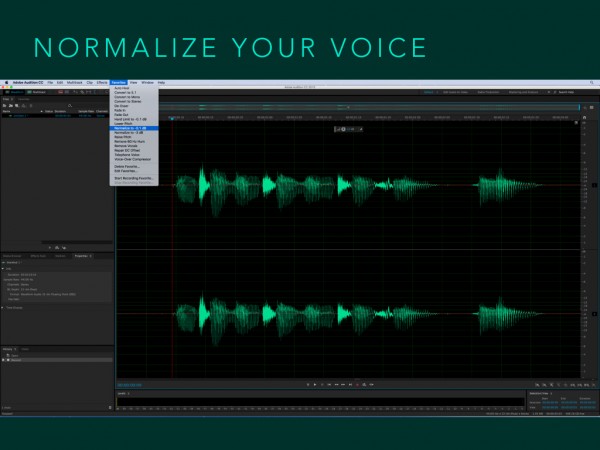
Normalize using one of the normalize favourites in the Favorites (US spelling) menu.
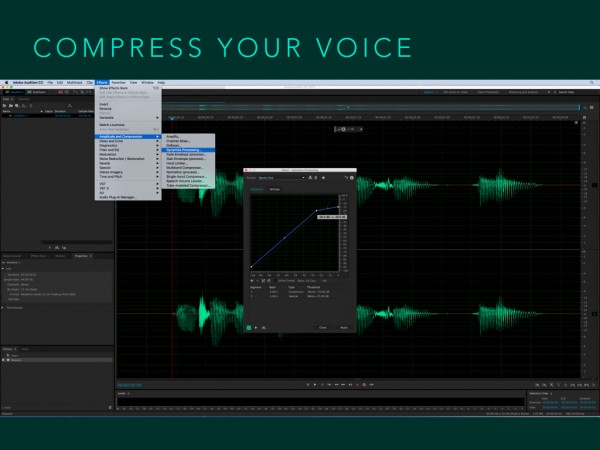
Finally, add some compression to crush the highs and raise the lows in amplitude. Add some punch to your voice. I always start with the Boomy Kick preset and alter that one to suit my voice.
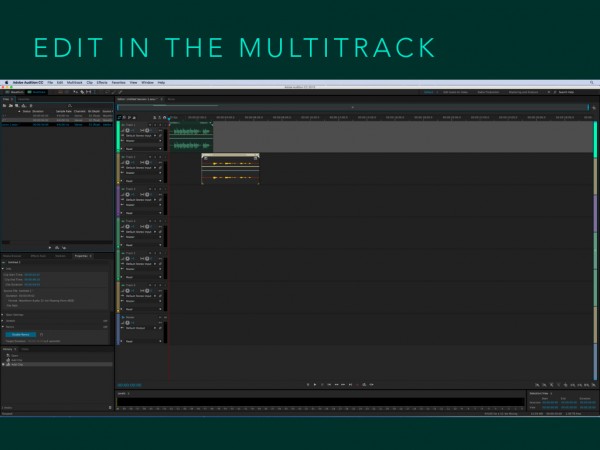
Multitrack makes it easy to mix multiple files together.
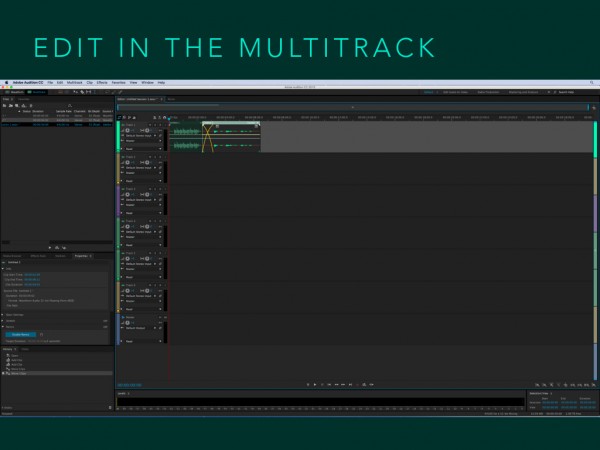
You can do some beautiful crossfades between your audio.
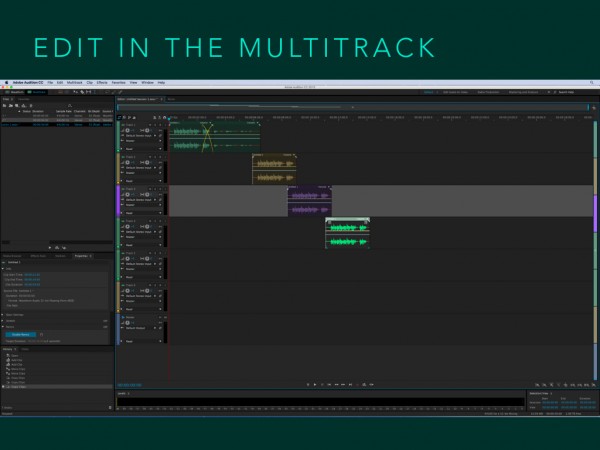
Multiply and rearrange your audio.
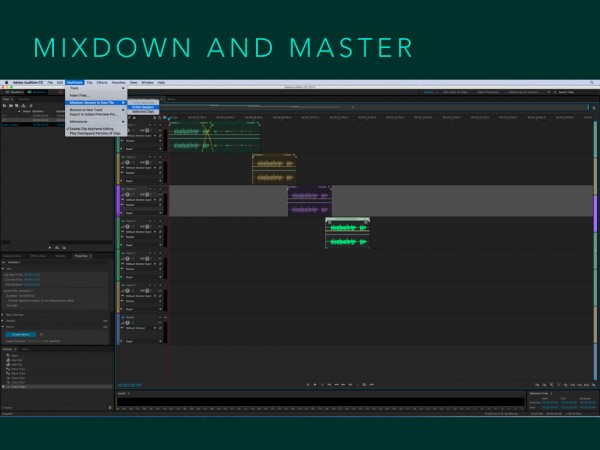
Use the Multitrack menu mixdown option to get a final waveform that you may save.
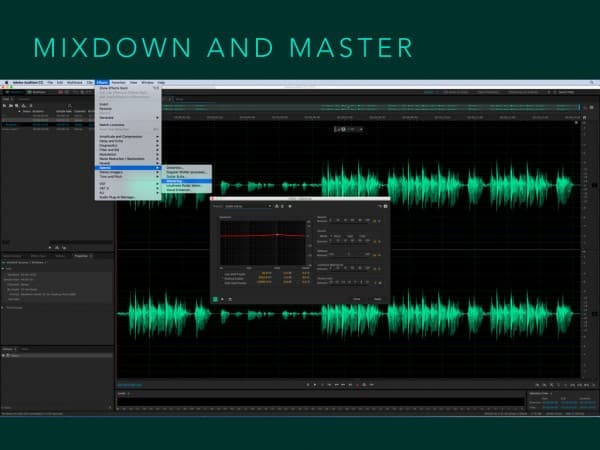
Add some mastering using the Effects, Special, Mastering… option. I like the Subtle Clarity preset.

Adobe Audition makes repetitive tasks easy and, as podcasters, we have plenty of those!
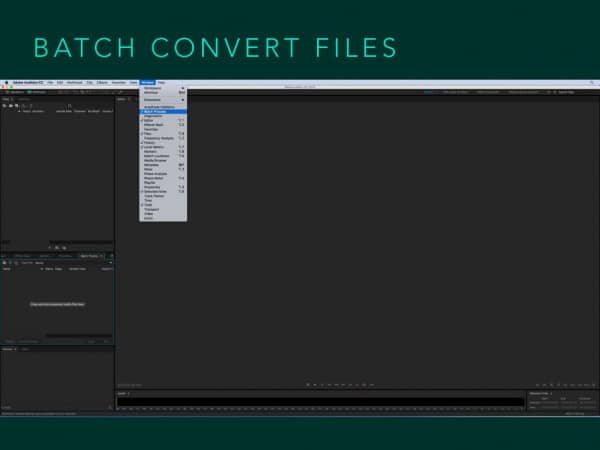
Batch convert audio (for instance from wav to mp3) using the Batch Process option in the Window menu.
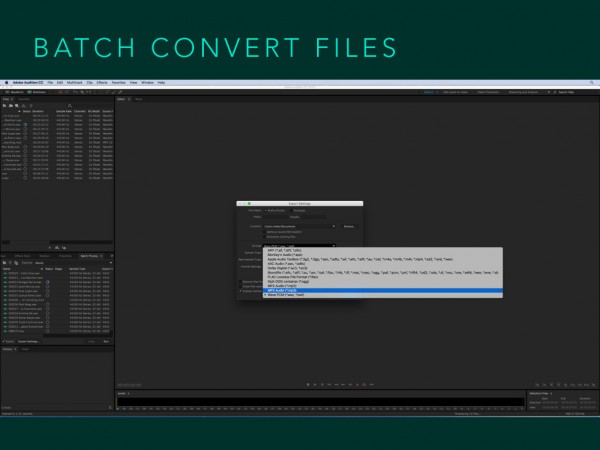
Drag in a bunch of wav files and then select convert to mp3. Easy!

The Diagnostics window (from the Window menu) has a great preset for deleting silences.
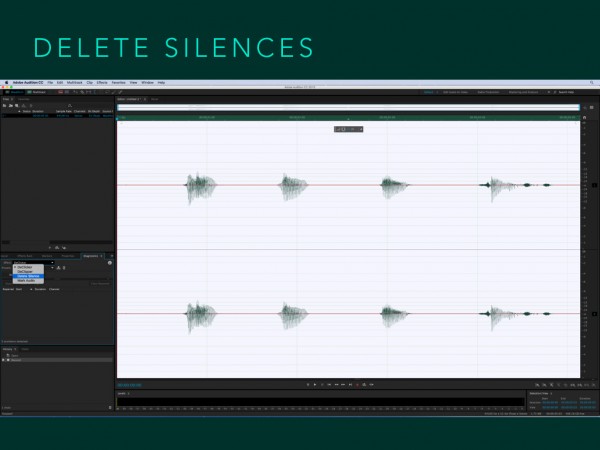
Fins it and use it to reduce long pauses in your podcast.
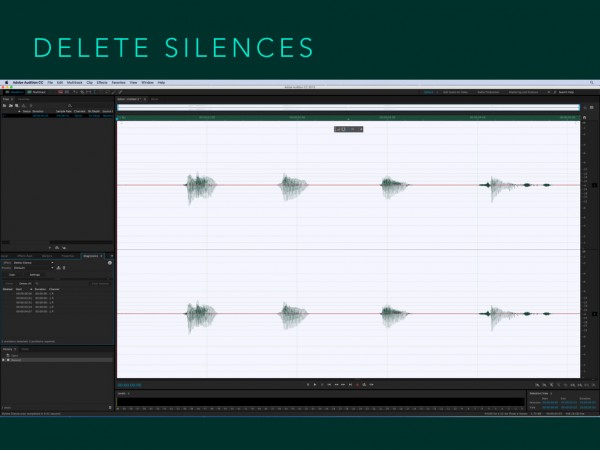
It’ll identify long silences from anywhere in your podcast in seconds.
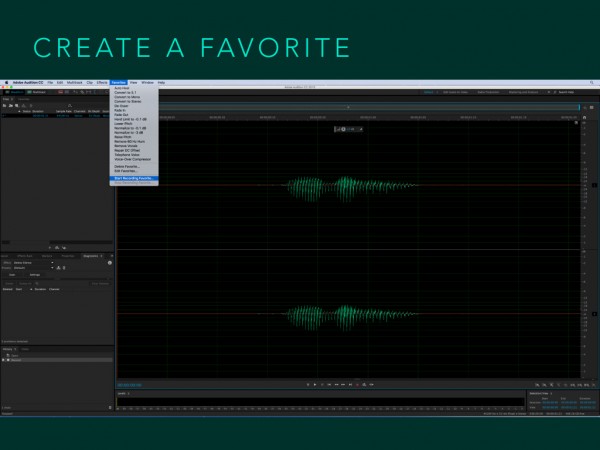
Do you end up doing the same things time and time again? Start recording a favorite in the Favorites menu and then you can replay all those actions again and again with one click.
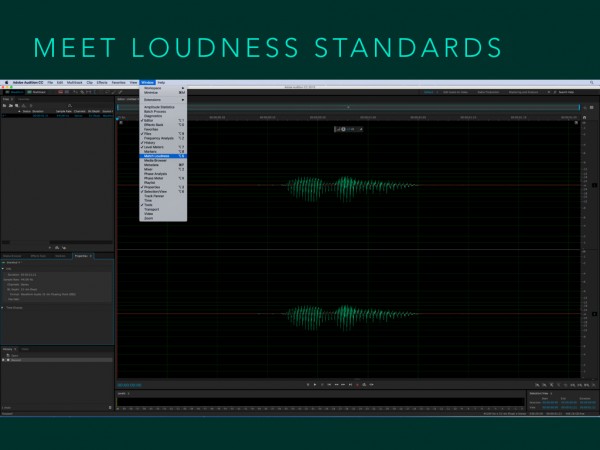
Match Loudness is a great feature in Adobe Audition’s Window menu.
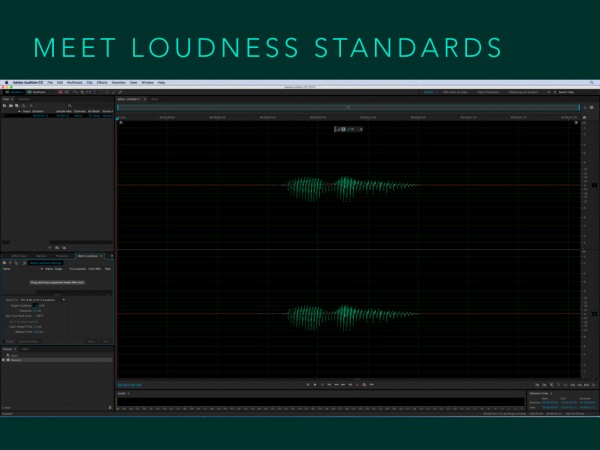
I created a video for podcasters about loudness.
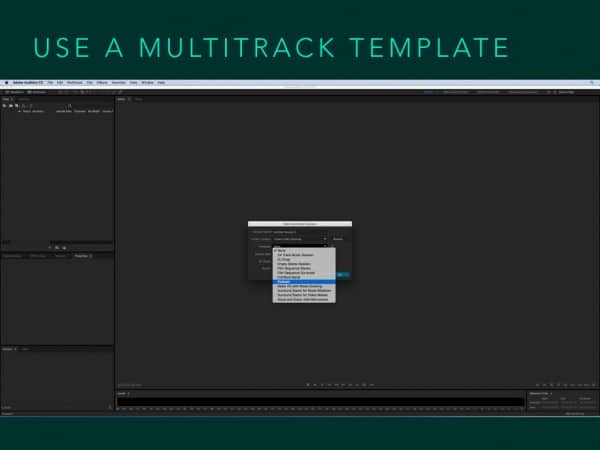
There is a multitrack template called Podcast! You can use it for your podcast.
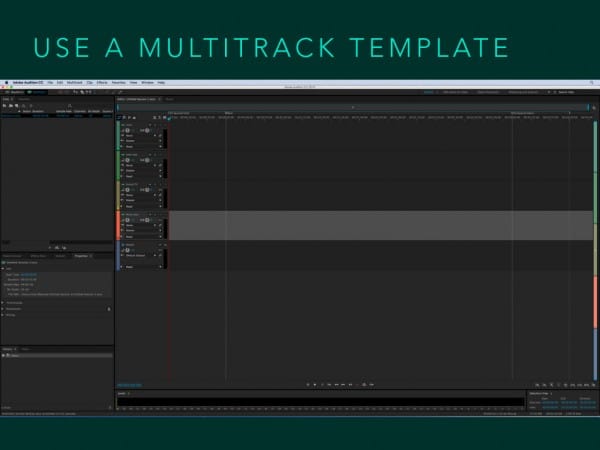
This will automatically setup an intro, outro area and relevant tracks for host, guest, music, sound fx and more!

Removing sounds is something that Adobe Audition does really well.
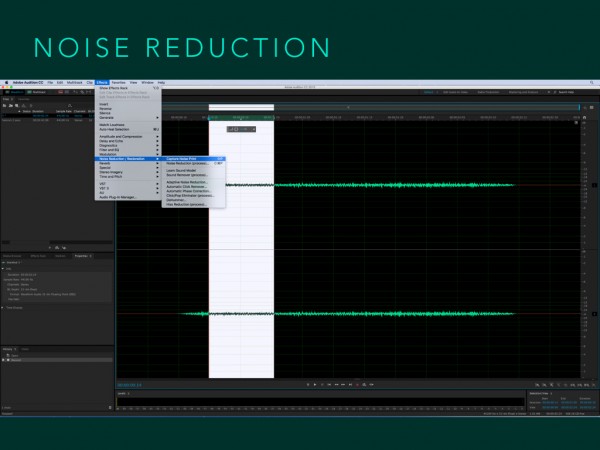
Capture a noise print (without any speech).
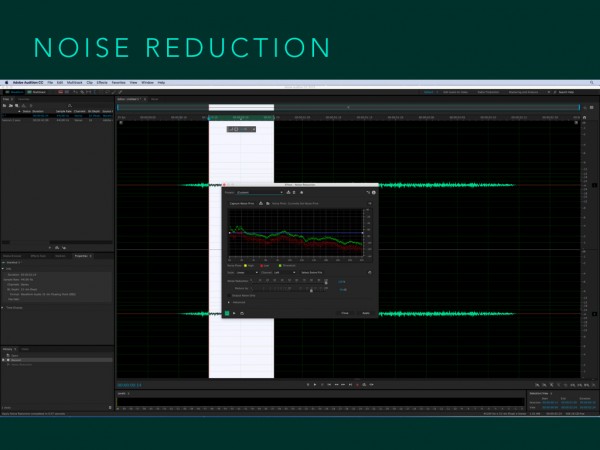
Run Noise Reduction on your whole audio file after capturing that noise print to eliminate background noise.
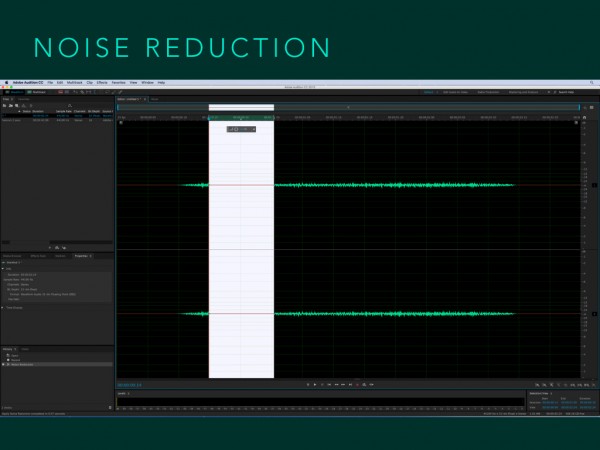
Gone!

Sound Removal is a newer feature for eliminating unwanted sounds.
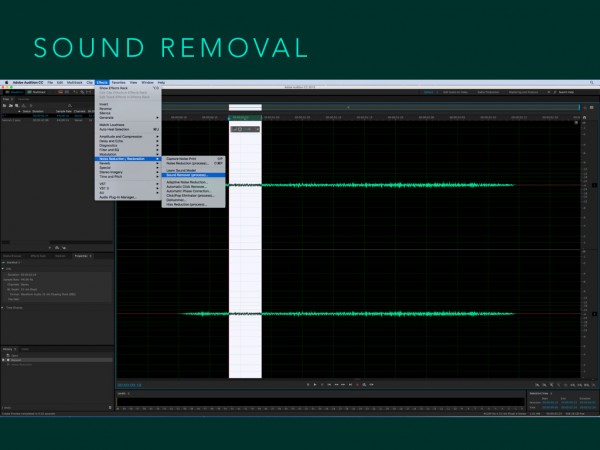
Try this one to get rid of background noise too.
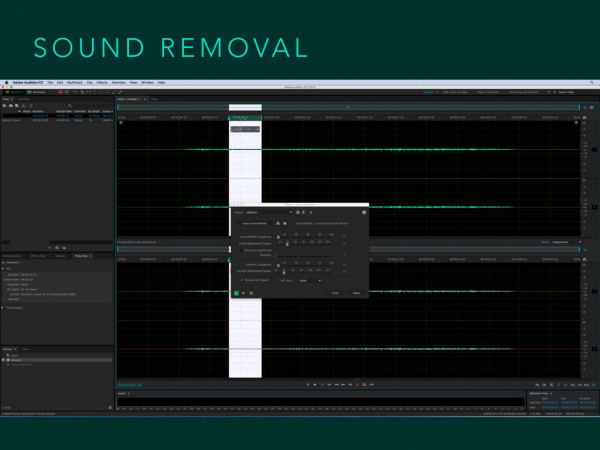
The settings window lets you fine tune the sound removal on your audio.
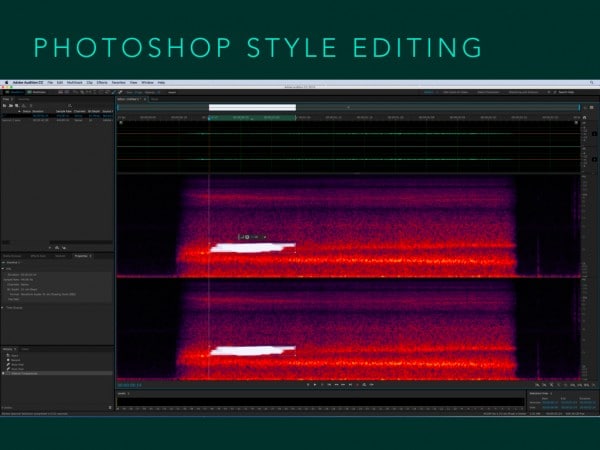
Yes, you can paint out sounds at certain frequencies in your audio (just like the paint tool in Photoshop!)

The black area in this view is the eliminated sound.
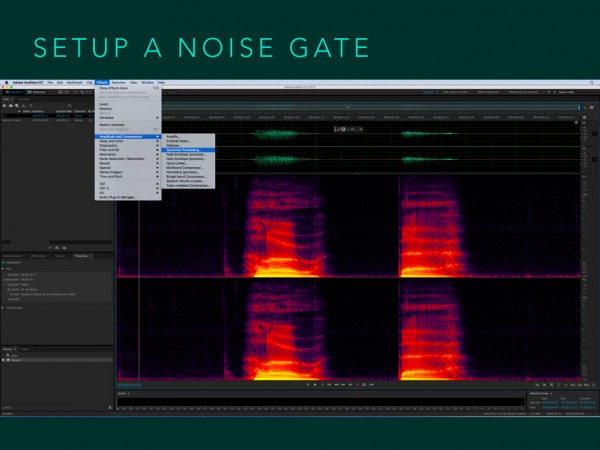
Nosie gates will reduce echo and background noises when you’re not talking.
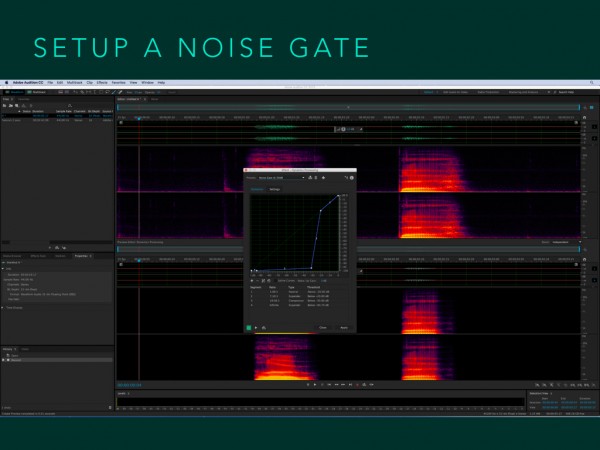
I use the presets in Effects, Amplitude and Compression, Dynamics Processing…
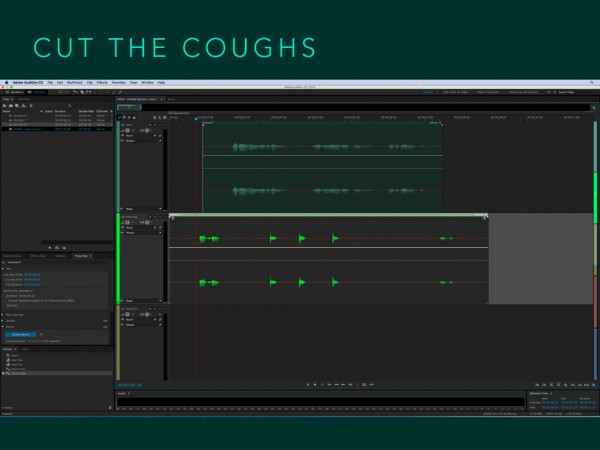
Did you record your audio and your guest on different channels?
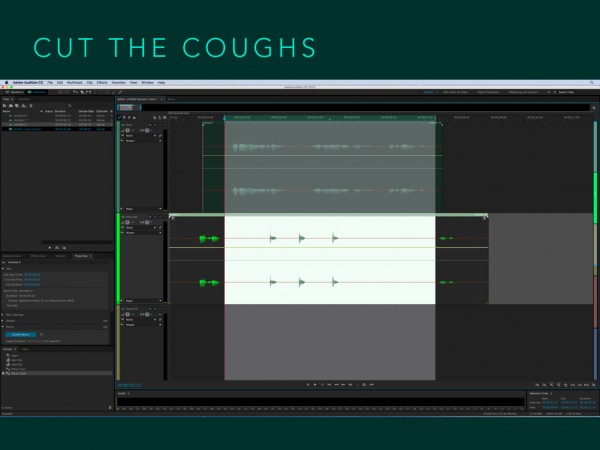
Your guest had a few coughs? No worries, highlight all the audio you want to delete.
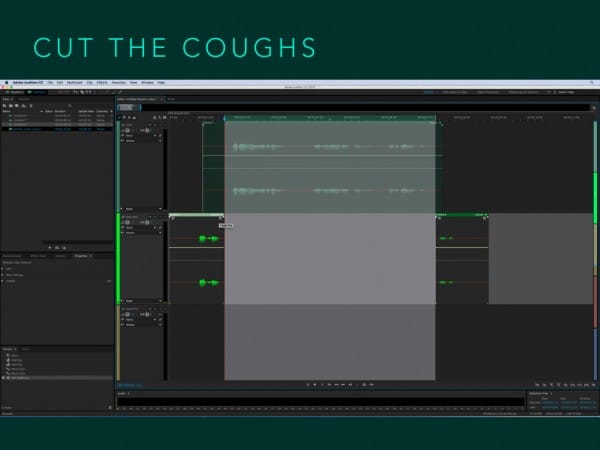
Hit the delete key and they’re gone.
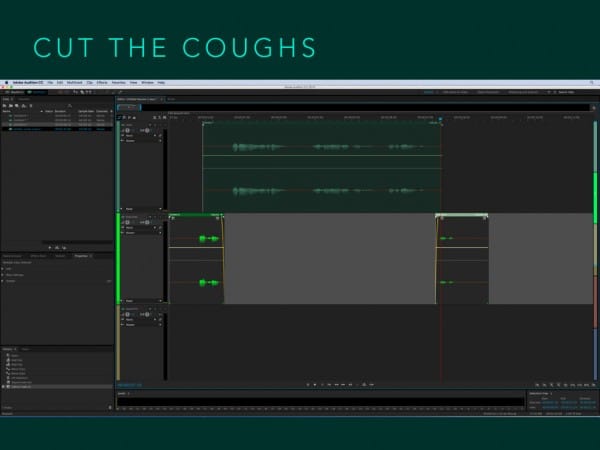
You can even drag the grey boxes at each side of the waveform in to create a nice fade out and fade in on your guest.
Adobe Audition will let you tag a podcast without leaving the software!
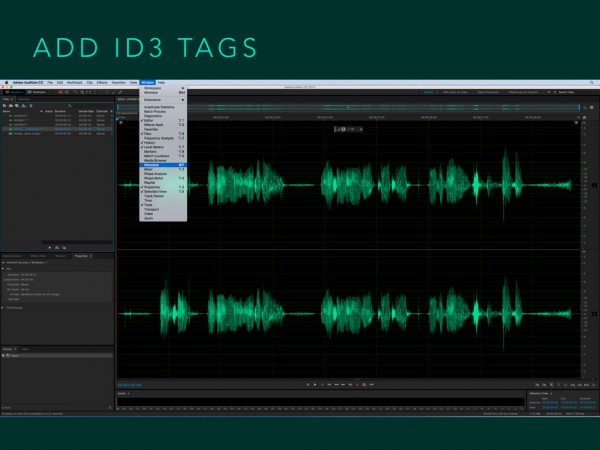
It’s the Window, Metadata feature.
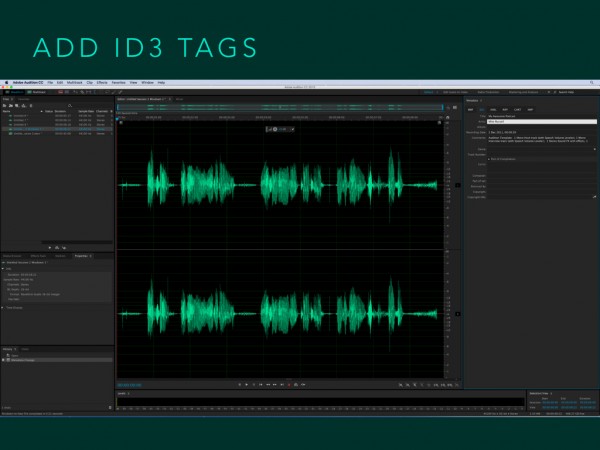
Click the ID3 tag and start typing in your podcast’s ID3 tags ready for iTunes and other podcatchers.
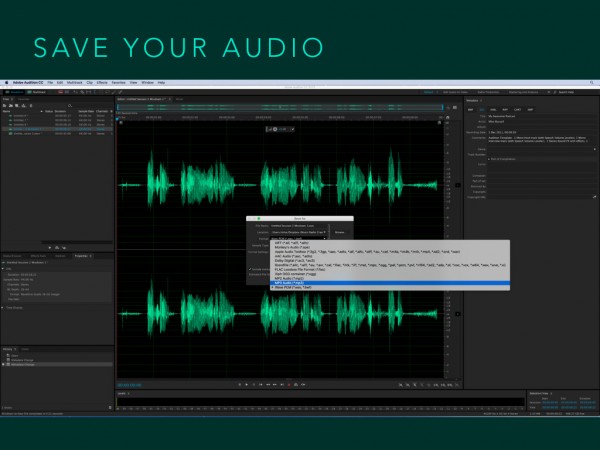
Next save your audio as an mp3 file ready to upload to your podcast host.
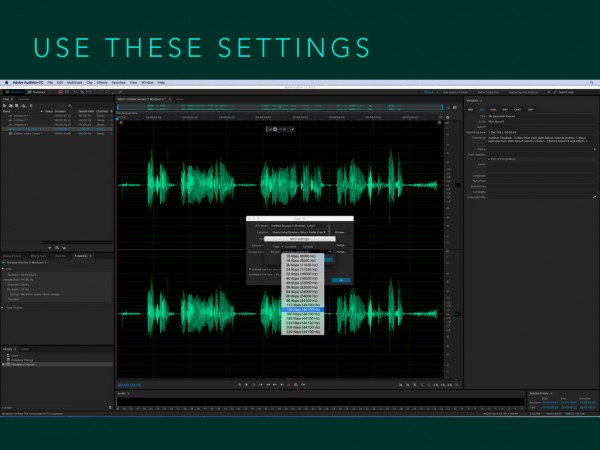
I recommend 128 kbps, stereo, this is what Spreaker recommends and accepts and should be fine for a speech based podcast with some musical intro, outro and jingles in between.
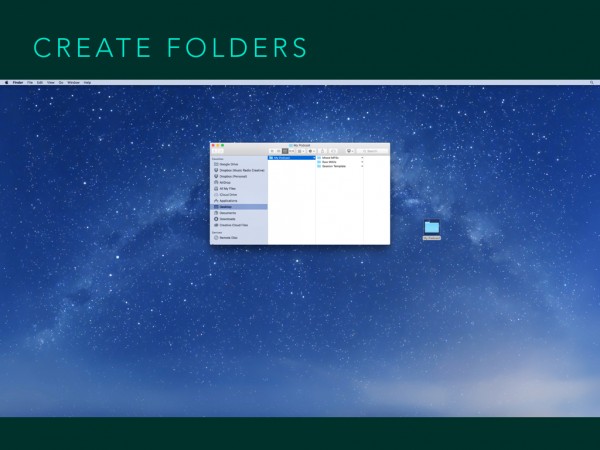
Remember to have folders with raw recorded audio and edited audio ready to upload.
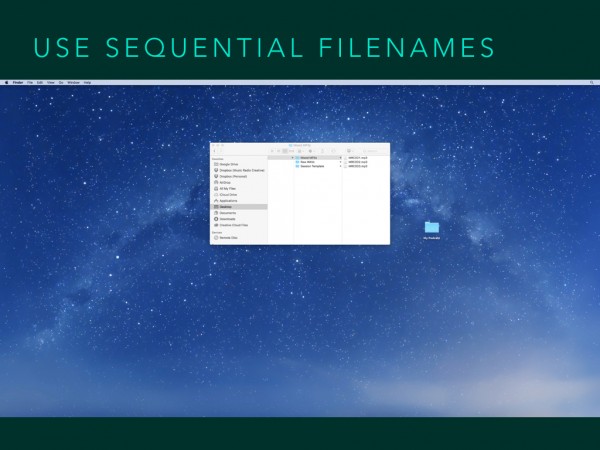
Use sequential filenames for podcasts like MRC001.mp3, MRC002.mp3 and MRC003.mp3 – that’s what we do for the Music Radio Creative podcast.
Where can you find out more?
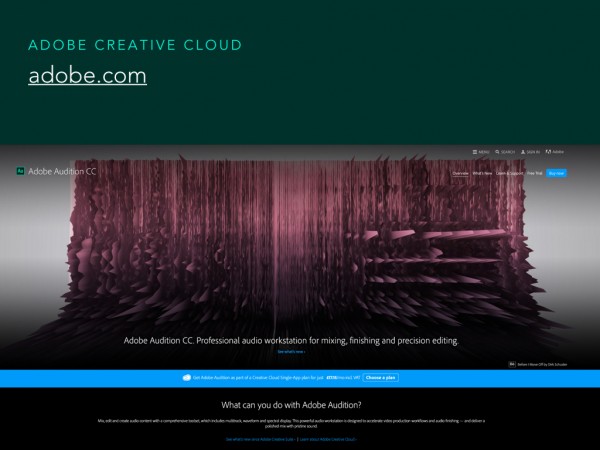
Head over to Adobe.com to download Adobe Audition.
Go for a deeper dive into the world of audio production and Adobe Audition on my YouTube channel.
